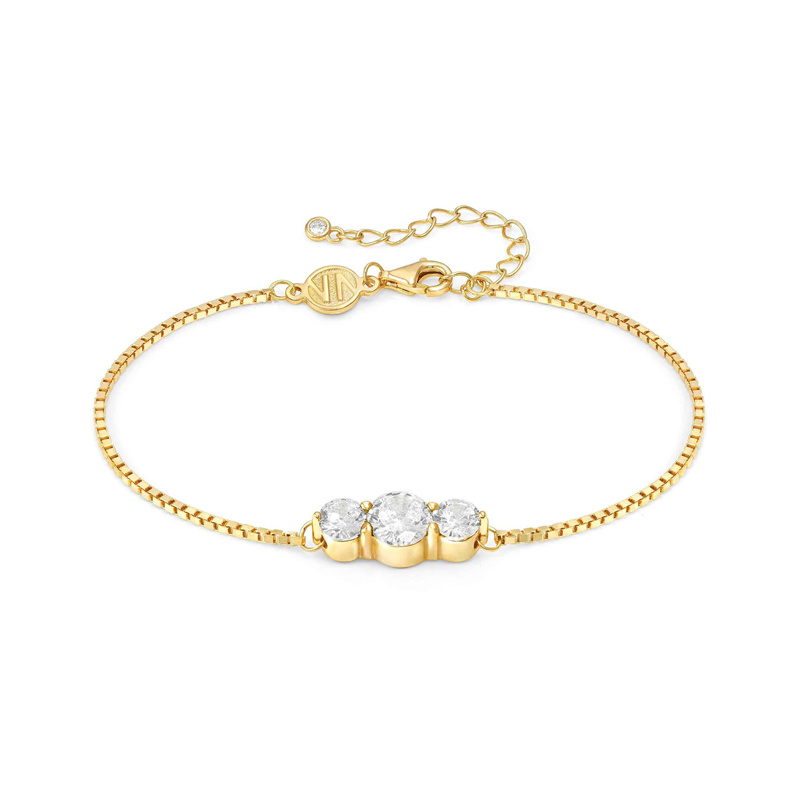
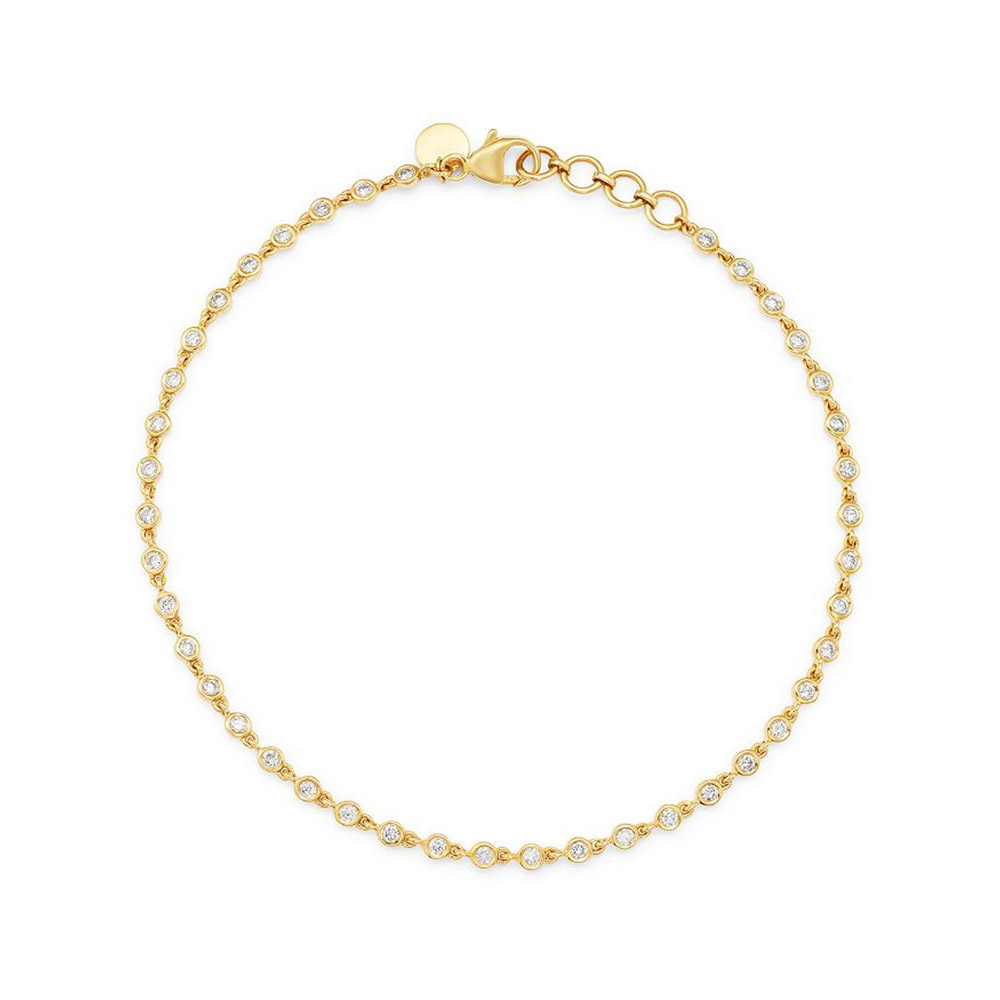
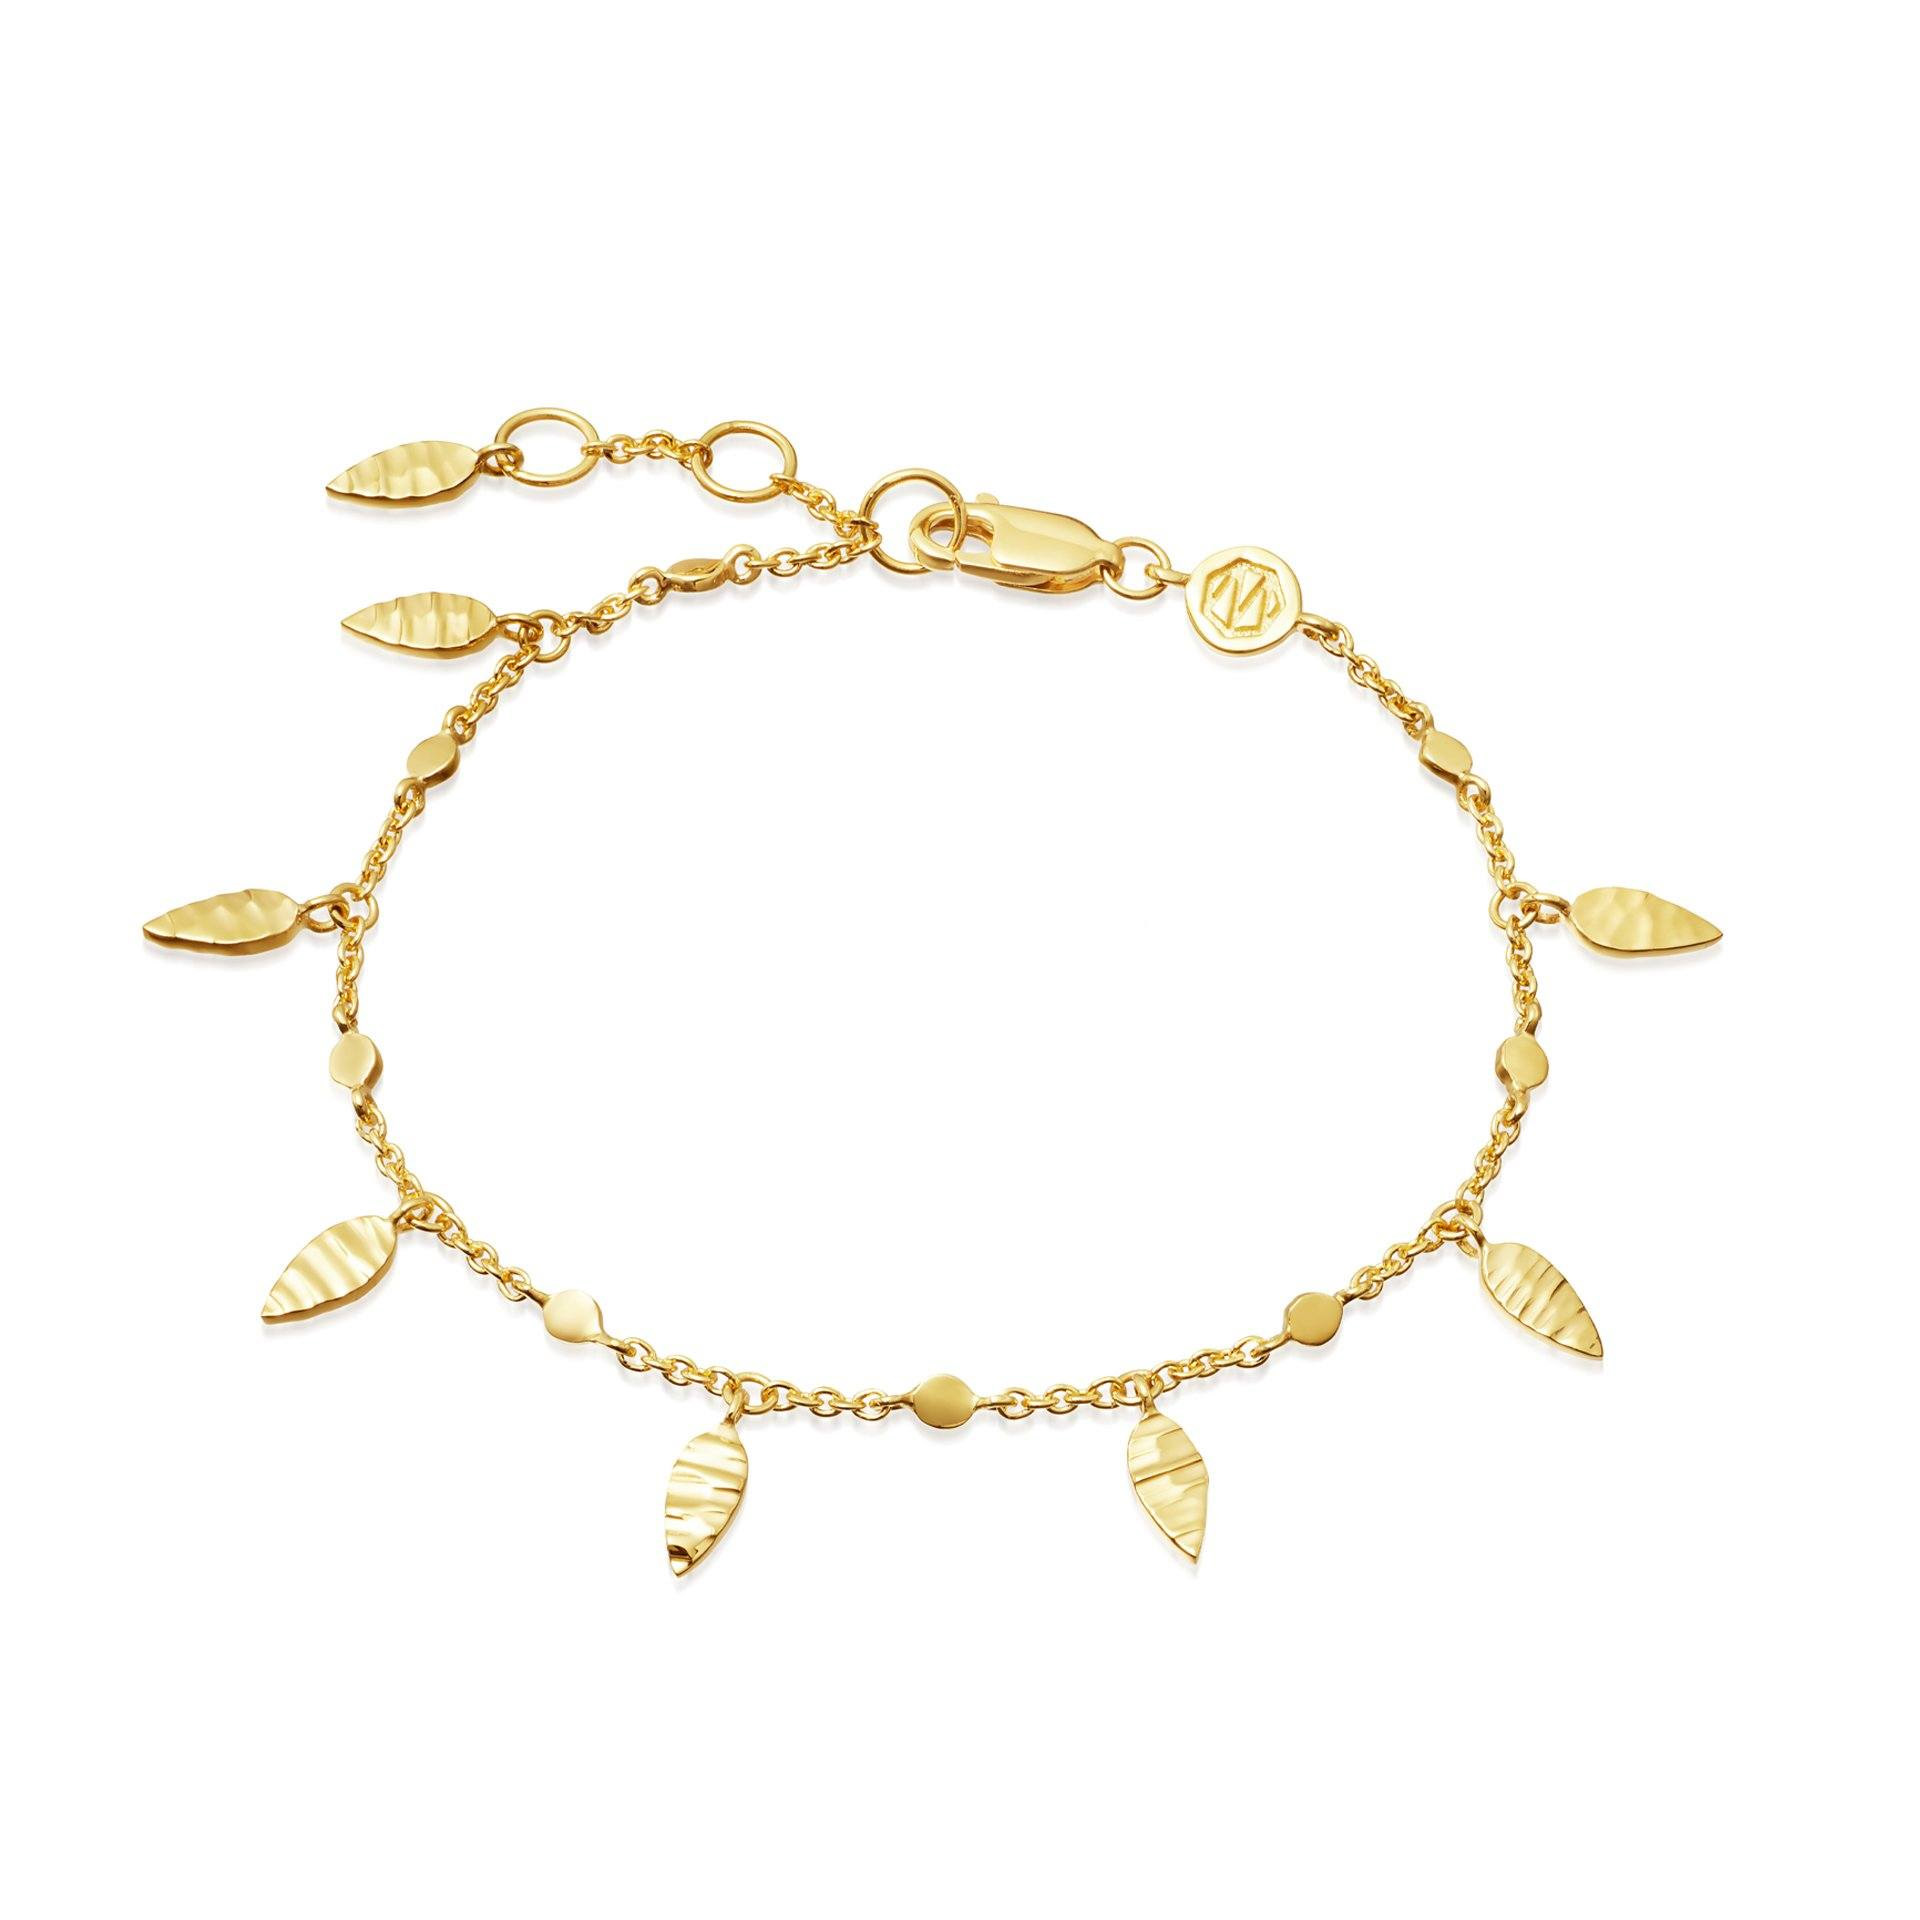
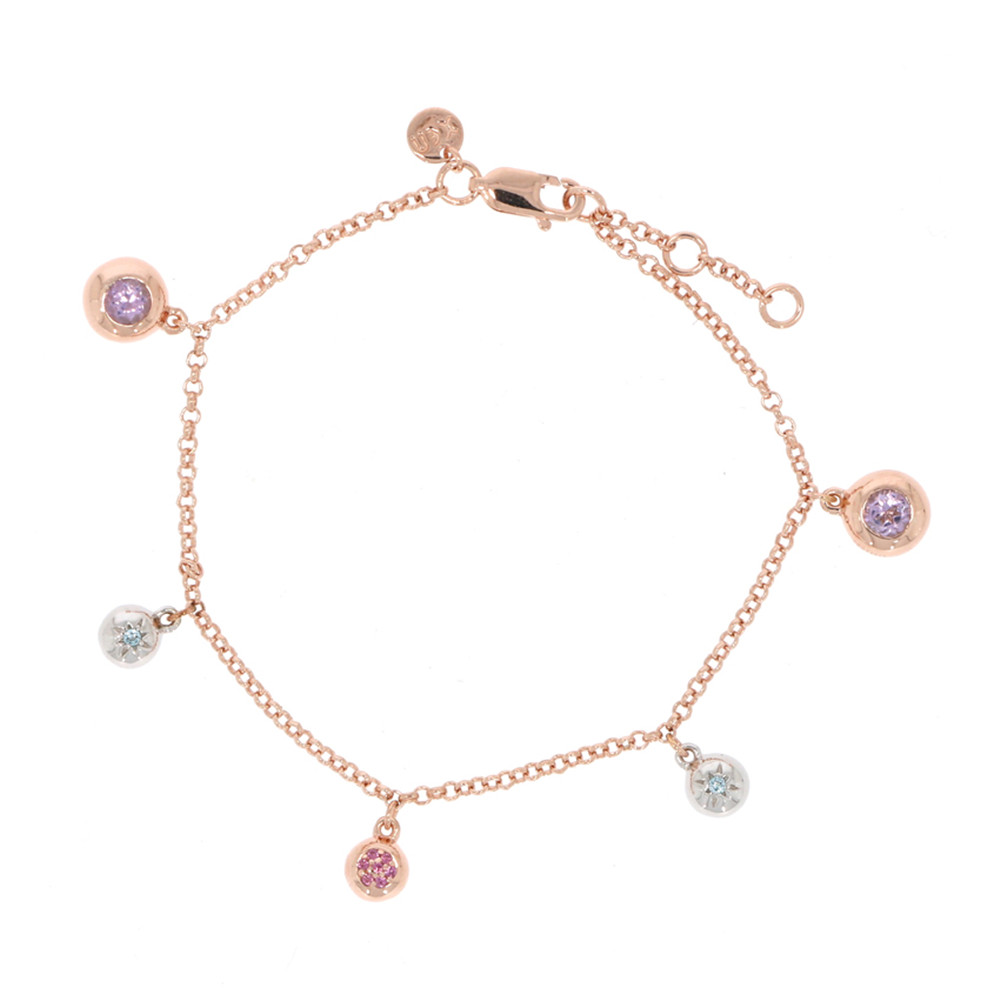
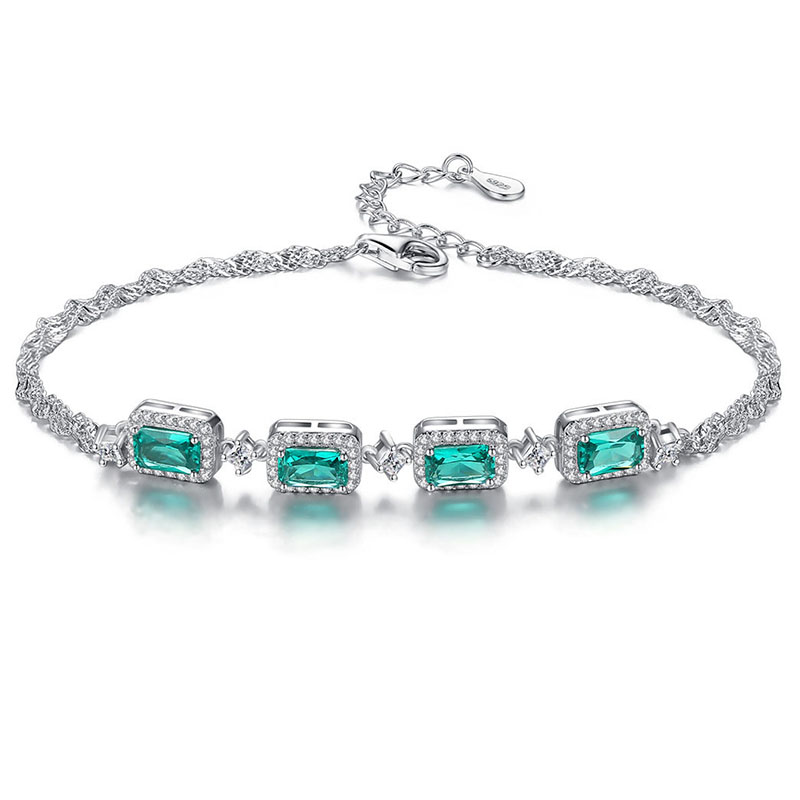
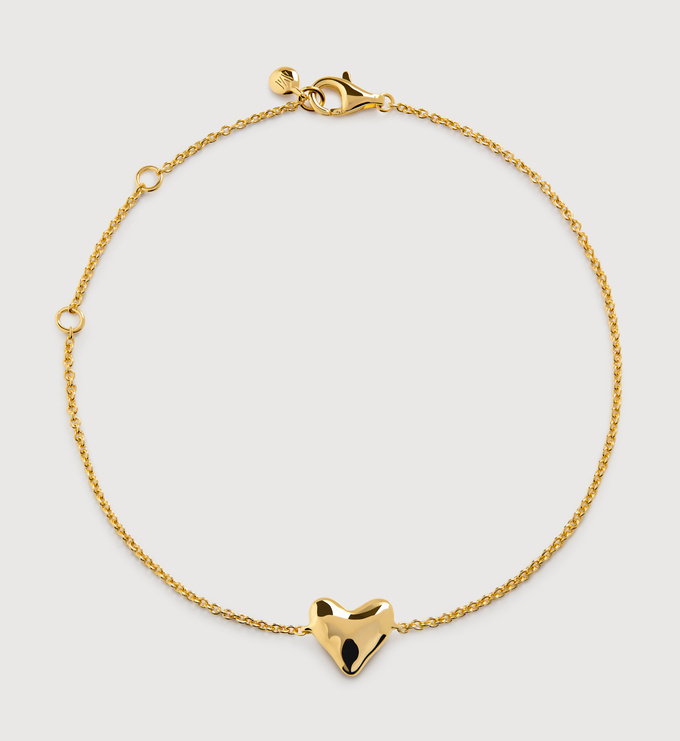
Loop Bracelet in Gold Custom Jewelry oem odm China
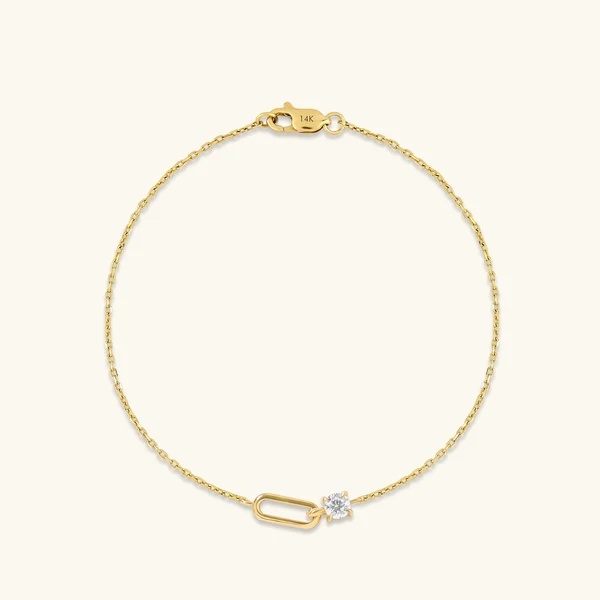
Loop Bracelet in Gold Custom Jewelry oem odm China
LET’S GET STARTED : mo@kingjy.com
How to Custom Loop Bracelet in Gold
Introduction
Gold jewelry has captivated humanity for millennia, symbolizing wealth, status, and enduring beauty. Among the most cherished forms of gold adornment is the custom bracelet—a piece that transcends mass production to become a personal statement of style, sentiment, and craftsmanship. Creating a custom gold bracelet is not merely an exercise in metalworking; it is an artistic journey that transforms raw precious metal into a wearable heirloom. Whether you are a budding jewelry maker or an enthusiast seeking to understand the craft behind your favorite accessories, this comprehensive guide will walk you through every stage of designing and creating a custom gold bracelet.
Understanding Gold: The Foundation of Your Creation
Choosing the Right Karat
The journey begins with selecting the appropriate type and karat of gold, as this decision fundamentally influences both the appearance and durability of your bracelet. Gold is measured in karats, with 24K representing pure gold. However, pure gold is too soft for most jewelry applications, which is why it is alloyed with other metals to enhance strength and workability.
- 10K Gold (41.7% pure): The most durable option, ideal for everyday wear. Its lower gold content makes it more affordable while maintaining a warm golden hue.
- 14K Gold (58.3% pure): The most popular choice for fine jewelry, offering an excellent balance of durability, color, and value.
- 18K Gold (75% pure): Composed of 75% pure gold mixed with other metals for durability, this karat provides an ideal balance of lustrous appearance and strength. It offers subtle luxury with deeper color saturation.
- 22K Gold (91.7% pure): Rich in color but softer, best suited for special-occasion pieces rather than daily wear.
Beyond traditional yellow gold, consider rose gold (alloyed with copper) or white gold (alloyed with palladium or nickel) for contemporary alternatives.
Gold-Filled vs. Solid Gold
For those seeking quality without the full investment of solid gold, gold-filled jewelry offers a compelling alternative. Gold-filled pieces consist of a thick layer of gold (at least 5% by weight) mechanically bonded to a base metal. Unlike gold-plated jewelry, which has negligible gold value and poor durability, gold-filled pieces offer high durability, strong tarnish resistance, and can be worn daily for years. However, for a piece intended to last indefinitely, solid gold remains the material that truly delivers on “forever”.
Designing Your Custom Bracelet
Conceptualization and Inspiration
Before any metal is cut or shaped, the design phase sets the foundation for your creation. Begin by preparing your ideas—consider the style, materials, and personalization elements you envision. Ask yourself:
- What type of bracelet do I want? (chain, link, bangle, cuff, or tennis bracelet)
- Will I wear it daily or only on special occasions?
- Do I want to incorporate engraving, birthstones, or other personalized touches?
Creating a vision board with reference images can help crystallize your ideas before you begin the physical work. Professional jewelers often start with hand-drawn sketches showing front, side, and perspective views to fully visualize the design.
Determining Size and Fit
Proper sizing is essential for comfort and wearability. For chain bracelets, measure the circumference of your wrist and add approximately half an inch for comfort and to accommodate the clasp. For bangle bracelets, measure the circumference of your hand at its widest point (with your thumb folded), not your wrist, and add 1 to 2 centimeters for comfortable removal.
Consider the bracelet width as well: dainty chains offer a delicate aesthetic ideal for stacking, medium 5–8mm widths are versatile for daily wear, and wide cuffs make a bold statement.
Choosing Clasp and Findings
The clasp is the part subjected to the most strain during wear, so prioritize a securing system built to endure. Common options include:
- Lobster clasps: The industry standard, offering secure and reliable closure
- Toggle clasps: Decorative and easy to use
- Magnetic closures: Convenient but less secure for heavy bracelets
- Box clasps: Sleek and secure, often used in finer jewelry
Essential Tools and Materials
Tools of the Trade
Creating a custom gold bracelet requires a specific set of tools. While a professional workshop offers advantages, beginners can start with a basic kit:
- Pliers: A set including round-nose, flat-nose, chain-nose, and side cutters is essential for bending, shaping, and cutting wire
- Jeweler’s saw: For precise cutting of gold sheet or wire
- Files and sanding sticks: To smooth edges and surfaces
- Soldering equipment: A small torch, flux, and solder for joining metal components
- Polishing tools: A polishing cloth or rotary polisher for finishing
- Measuring instruments: For accurate sizing
- Bracelet mandrel: A tapered steel form for shaping bangles and cuffs
- Safety equipment: Safety glasses and a well-ventilated workspace
Materials
- Gold wire or sheet (in your chosen karat and color)
- Clasps and jump rings
- Flux and solder (matching your gold karat)
- Optional: charms, beads, gemstones, or engraving materials
The Step-by-Step Creation Process
Step 1: Preparation and Layout
Begin by sketching your design and determining the required length of gold. For chain bracelets, measure your wrist and add allowance for the clasp. For link bracelets, calculate the number of links needed based on your desired length and link size.
If working with sheet gold for a bangle or cuff, lay out your pieces on the sheet to minimize waste. Professional jewelers often nest multiple pieces together to maximize material efficiency.
Step 2: Cutting and Shaping
Using your jeweler’s saw or wire cutters, cut the gold to the specified lengths. This is where precision is paramount—accurate cuts ensure clean joints and a professional finish.
For chain bracelets, bend and shape the wire into individual links using your pliers. This may involve forming many identical loops before linking them together. For bangles, the shaped gold is formed on a bracelet mandrel—a tapered steel or PVC pipe that helps achieve a perfectly round shape.
Step 3: Annealing
Annealing is a crucial heat treatment process that softens the gold at various stages to prevent cracking during bending and shaping. When gold is worked (bent, hammered, or shaped), it becomes work-hardened and brittle. Annealing restores its ductility.
- Yellow gold anneals at approximately 1,100°F (593°C)
- White gold requires higher temperatures, around 1,400°F (760°C)
Heat the gold evenly until it reaches a dull red glow, then quench it in water or pickle solution to remove oxidation.
Step 4: Soldering
Soldering permanently joins pieces of gold to create a strong, seamless bracelet. This is one of the most satisfying—and challenging—steps in the process.
The soldering process involves:
- Cleaning: Ensure all surfaces are clean and free from oils or debris
- Applying flux: Flux prevents oxidation during heating and helps solder flow
- Placing solder: Apply small chips of gold solder or paste solder to the joint
- Heating: Carefully apply heat with your torch until the solder flows and creates a bond
For chain bracelets, solder each link individually, ensuring the solder flows completely into the seam. Work in a well-ventilated area and always wear safety glasses.
Step 5: Assembly
Once your components are shaped and soldered, assemble the bracelet. For chain bracelets, this means linking each soldered link together. For charm bracelets, attach charms and beads using jump rings.
For beads, slide the bead onto a headpin, use round-nose pliers to create a loop at the top, attach the loop to a link on the chain, and trim excess wire.
Attach your chosen clasp using jump rings—open the jump ring with pliers, slide the clasp and chain end onto it, and securely close the ring.
Step 6: Finishing and Polishing
The final touch transforms your creation from a functional piece to a work of art. Polishing brings out the rich luster of the gold, making all your hard work shine.
Start by filing any rough edges or excess solder. Then progress through increasingly fine abrasives. Finally, use a soft polishing cloth or a rotary polisher with appropriate compound to achieve a brilliant finish.
For high-polish finishes, jewelers use buffing wheels with compounds like Menzerna M5. For brushed or matte finishes, use abrasive pads or specialized brushing tools.
Step 7: Personalization (Optional)
Adding personal touches elevates a custom bracelet from beautiful to meaningful. Consider:
- Engraving: Traditional hand engraving uses a small stylus to carve letters or images into the gold surface. Modern laser engraving offers unlimited creative possibilities, vaporizing the metal’s top layer to create precise, matte markings.
- Gemstone setting: Add diamonds, birthstones, or colored gems through various setting styles like bezel, prong, or pavé.
- Textured finishes: Hammered, brushed, or patterned surfaces add visual interest and uniqueness.
Maintenance and Care
A custom gold bracelet deserves proper care to maintain its beauty for generations.
Regular Cleaning
Use a few drops of mild soap and warm water to gently clean the surface of your gold bracelet, then dry with a soft cloth. Avoid harsh chemicals or abrasive substances that can damage the delicate finish.
Proper Storage
Store your bracelet in a soft cloth pouch or jewelry box to protect it from scratches. Avoid direct sunlight and high humidity, which can cause tarnishing over time.
Professional Maintenance
Have your bracelet professionally inspected and cleaned periodically. A jeweler can check for loose clasps or damaged links and give the piece a thorough cleaning.
Conclusion
Creating a custom loop bracelet in gold is a rewarding endeavor that combines technical skill with artistic vision. From selecting the perfect karat of gold to the final polish, each step offers an opportunity to infuse your personality into a lasting piece of jewelry. Whether you are crafting a gift for a loved or a personal treasure, the satisfaction of wearing—or giving—a piece you have created yourself is truly unparalleled.
While the process requires patience, practice, and precision, the result is a one-of-a-kind accessory that mass-produced items simply cannot replicate. As you develop your skills in metalwork and design, each bracelet you create will reflect your growing expertise and personal style. The art of gold bracelet making is not just about shaping metal—it is about crafting memories, celebrating craftsmanship, and creating beauty that endures.