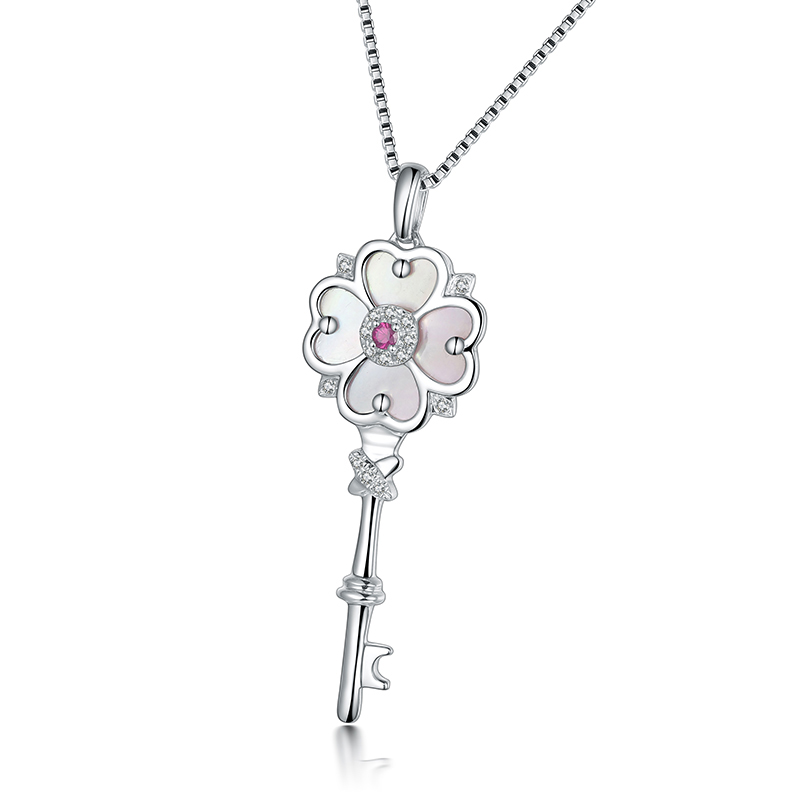
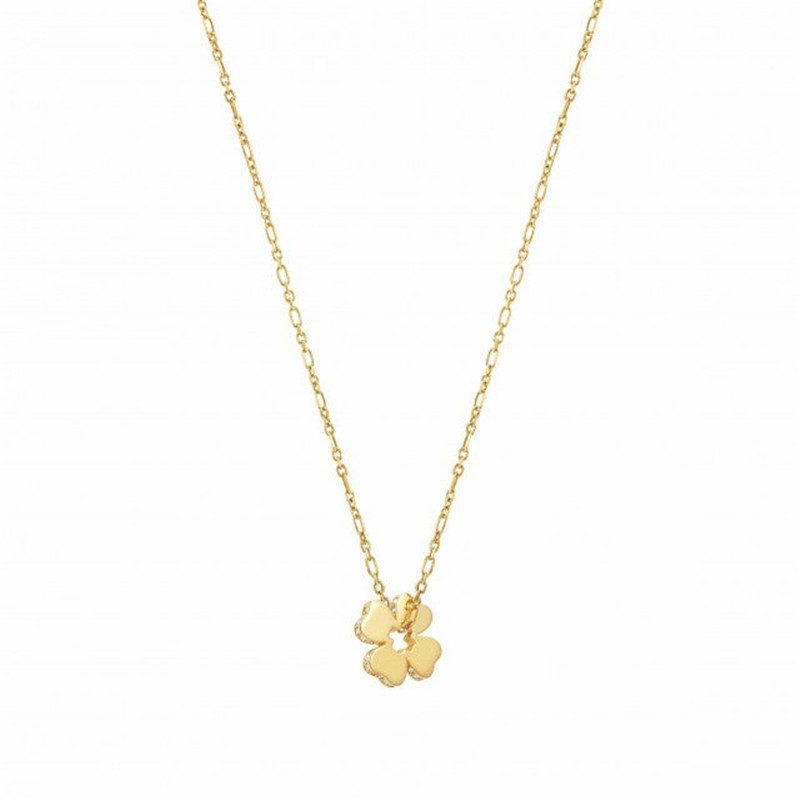
Custom Sterling Silver Jewelry Pave Shamrock Necklace in Gold
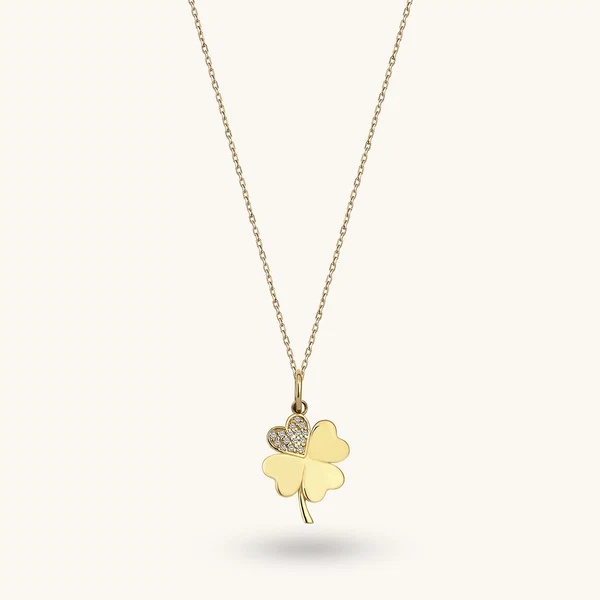

Custom Sterling Silver Jewelry Pave Shamrock Necklace in Gold
LET’S GET STARTED : mo@kingjy.com
How to Custom Sterling Silver Jewelry Pave Shamrock Necklace in Gold
Introduction
The shamrock—a timeless symbol of Irish heritage, faith, and good fortune—has long been a beloved motif in jewelry design. When rendered in sterling silver with a pavé setting and finished in gold, the shamrock necklace becomes a piece that bridges tradition and contemporary elegance. Customizing such a piece, however, is a journey that requires understanding materials, techniques, and craftsmanship. This guide provides a comprehensive walkthrough of how to create a custom sterling silver pavé shamrock necklace finished in gold—from initial design concept to final polishing and care.
Understanding the Materials
Sterling Silver as the Foundation
The journey begins with choosing the right base metal. Sterling silver, specifically 925 sterling silver (92.5% pure silver mixed with 7.5% other metals, typically copper), is the industry standard for fine jewelry. It offers an excellent balance of durability, workability, and value. When selecting sterling silver for your custom shamrock necklace, look for recycled or sustainably sourced materials if that aligns with your values—many manufacturers now offer recycled 925 sterling silver options.
The Pavé Setting
Pavé (pronounced “pah-vay”) is a stone-setting technique where multiple small gemstones are set closely together using tiny prongs or beads, creating a surface that appears to be “paved” with stones. For a shamrock necklace, the pavé setting typically outlines the three leaves of the clover, following the natural curves of the design.
The stones used in pavé settings are often diamonds or cubic zirconia. Micro-pavé, a more refined variation, uses exceptionally small stones (sometimes as tiny as 0.10mm in diameter) set with microscopic prongs. This technique requires extraordinary precision—small CAD errors at the micro scale can become costly production issues.
Gold Finishing Options
Once the sterling silver shamrock is crafted and set with stones, the final step is applying a gold finish. There are several approaches:
Gold Plating: This process deposits a thin layer of gold over the sterling silver base using electrical current. The piece is submerged in a solution containing dissolved gold ions; when electrical current passes through, gold particles bond permanently to the surface.
Vermeil (Gold Vermeil): This is a specific type of heavy gold plating applied over sterling silver. To be legally called vermeil in the United States, the gold must be at least 10-karat in fineness. More commonly, vermeil features an 18-karat gold layer of at least 2.5 microns thickness over a 925 sterling silver base. Vermeil offers superior durability compared to standard gold plating because of the thicker gold layer.
Gold-Filled: This involves a layer of gold bonded to a base metal (usually brass or copper) through heat and pressure, with the gold comprising at least 5% of the total weight. While durable and tarnish-resistant, gold-filled is not the same as gold-plated sterling silver.
For the highest quality custom shamrock necklace, vermeil is generally the preferred choice. The minimum recommended gold thickness for durability is at least 1 micron, with 2.5 microns being the industry standard for premium vermeil jewelry.
Step 1: Design and Conceptualization
Sketching the Vision
Every custom piece begins with an idea. Work with a designer or jewelry manufacturer to sketch your vision for the shamrock necklace. Consider:
- The overall size and proportions of the pendant
- The shape of the three shamrock leaves (rounded, pointed, or a modern interpretation)
- Where the pavé stones will be placed
- The style of the chain (belcher, trace, box link, etc.)
CAD Modeling and 3D Rendering
Modern custom jewelry production almost always begins with Computer-Aided Design (CAD). Skilled designers create a digital 3D model of your shamrock necklace using specialized software. This step is critical for pavé-set pieces because the CAD model must include precise micro-seats for each stone.
The CAD model allows you to visualize the piece from every angle and make adjustments before any physical production begins. Once you approve the renderings, the design moves to the next stage.
Step 2: Prototyping and Casting
3D Printing the Wax Model
The approved CAD file is used to 3D print a wax model of the shamrock pendant. This wax replica captures every detail of the design, including the micro-seats for the pavé stones.
Lost-Wax Casting
The wax model undergoes the lost-wax casting process:
- Multiple wax models are attached to a central stem, forming a “tree”
- The tree is encased in a plaster-like investment material
- The mold is heated, melting the wax and leaving a hollow cavity
- Molten 925 sterling silver is poured into the cavity
- Once cooled, the silver casting is removed from the mold
Initial Finishing
The raw casting is cleaned, and any sprue marks (where the metal connected to the tree) are removed. The piece is sanded and polished to prepare the surface for stone setting.
Step 3: Stone Setting — The Pavé Technique
Pavé setting is one of the most demanding skills in jewelry making. The process involves:
- Seat Cutting: Using specialized tools called gravers, the jeweler cuts precise seats (small holes) in the metal where each stone will sit
- Stone Placement: Each tiny stone is placed into its seat. For micro-pavé, this requires exceptional hand-eye coordination and often the use of a microscope
- Creating Beads: The jeweler uses a graver to move small amounts of metal over each stone, creating tiny “beads” or prongs that hold the stone in place
- Burnishing: A bead-burnisher tool is used to secure the metal over each stone, ensuring they are held firmly
- Alignment Check: Every stone must be aligned perfectly with its neighbors to create the seamless, sparking surface that defines quality pavé work
For a shamrock necklace, the pavé stones typically trace the outline of the three leaves. The number of stones can vary—one design features 18 micro diamonds outlining the shamrock petals.
Step 4: Gold Plating — The Transformation
With the stones securely set, the piece is ready for its gold finish. Professional gold plating follows a meticulous process:
Inspection and Preparation
The jeweler examines the piece for scratches or damage that must be addressed before plating. Plating over imperfections locks them in permanently.
Deep Cleaning
The piece undergoes ultrasonic cleaning to remove all grease, oils, and oxidation. Any surface contamination will prevent the plating from bonding correctly. This is especially important with sterling silver, which is soft and requires gentle cleaning methods.
Surface Preparation
Depending on the specific requirements, a thin “strike” layer may be applied to ensure proper adhesion. Some processes use a palladium isolation layer before gold plating to prevent diffusion issues.
Electroplating
The piece is submerged in a gold plating solution containing dissolved gold ions. Electrical current is applied, causing gold particles to migrate and bond permanently to the sterling silver surface. The thickness of the gold layer is controlled by adjusting current intensity and duration—measured in microns.
For a high-quality custom piece, aim for:
- Standard plating: 0.5–1.0 microns (6–12 months of regular wear)
- Heavy plating: 1.5–2.5 microns (1–2 years with care)
- Vermeil: Minimum 2.5 microns on 925 silver (highest standard, longest wear)
The pieces are moved or agitated during plating to keep the solution uniform and ensure even coverage.
Clear Coat Application
Some jewelers apply a clear protective coating over the gold plating for enhanced wear resistance. This is particularly beneficial for pieces intended for daily wear.
Step 5: Final Polishing and Quality Control
After plating, the piece undergoes final inspection and polishing:
- Visual Inspection: Every stone is checked to ensure it remains securely set
- Surface Check: The gold finish is examined for uniformity and any imperfections
- Light Polishing: A gentle polish enhances the shine without damaging the gold layer
The finished pendant is then attached to your chosen chain—typically an 18-inch to 20-inch sterling silver or gold chain.
Step 6: Caring for Your Custom Piece
A custom gold-plated sterling silver pavé shamrock necklace is an investment that requires proper care to maintain its beauty.
Daily Habits
- After each wear, wipe gently with a soft, dry cloth to remove oils and sweat
- Remove the necklace before swimming, showering, or washing dishes
Cleaning
- For deeper cleaning, dissolve a small drop of mild dish soap in lukewarm water
- Soak the piece briefly—never soak gold-plated jewelry for extended periods
- Use a very soft brush for gentle cleaning
- Dry with a soft cotton cloth
What to Avoid
- Never use abrasive polishes, silver cloths, toothpaste, or baking soda—these will scratch and strip the gold layer
- Avoid contact with aerosols, perfume, detergents, chlorinated water, saltwater, or any chemicals that can wear down the gold plating
- Avoid vigorous rubbing, which may wear down the plating
Conclusion
Customizing a sterling silver pavé shamrock necklace in gold is a journey that blends artistry, precision engineering, and traditional craftsmanship. From the initial sketch and CAD modeling through lost-wax casting, meticulous pavé stone setting, and finally the transformative gold plating process, each step requires skill and attention to detail.
The result is a piece of jewelry that carries deep symbolic meaning—the shamrock representing faith, hope, and love—while offering the enduring beauty of gold and the brilliance of pavé-set stones. Whether created as a personal treasure, a meaningful gift, or a connection to Irish heritage, a custom gold-finished pavé shamrock necklace is a testament to the timeless appeal of well-crafted jewelry.
The key to success lies in working with skilled artisans, choosing quality materials (925 sterling silver, genuine stones, and a substantial gold layer of at least 2.5 microns for vermeil quality), and committing to proper care after the piece is complete. With these elements in place, your custom shamrock necklace will remain a cherished possession for years to come.