How to make Bead Stretch Bracelet vermeil 10kt Yellow Gold


s925 rose gold filled earrings makes custom jewelry supplier
LET’S GET STARTED : mo@kingjy.com
How to make Bead Stretch Bracelet vermeil 10kt Yellow Gold
Table of Contents
-
Introduction
-
Overview of Brass as a Jewelry Material
-
Materials, Tools, and Safety Equipment
-
Planning and Design
-
Cutting and Preparing Brass Rod or Wire
-
Forming Round Beads
-
Drilling Holes in Beads
-
Cleaning and Polishing Beads Before Assembly
-
Stringing Beads into a Bracelet Chain
-
Securing, Clasping, and Finishing Details
-
Final Polishing and Surface Finishes
-
Protective Coatings and Tarnish Prevention
-
Quality Control and Inspection
-
Common Problems & Troubleshooting
-
Maintenance Tips for Brass Jewelry
-
Conclusion
1. Introduction
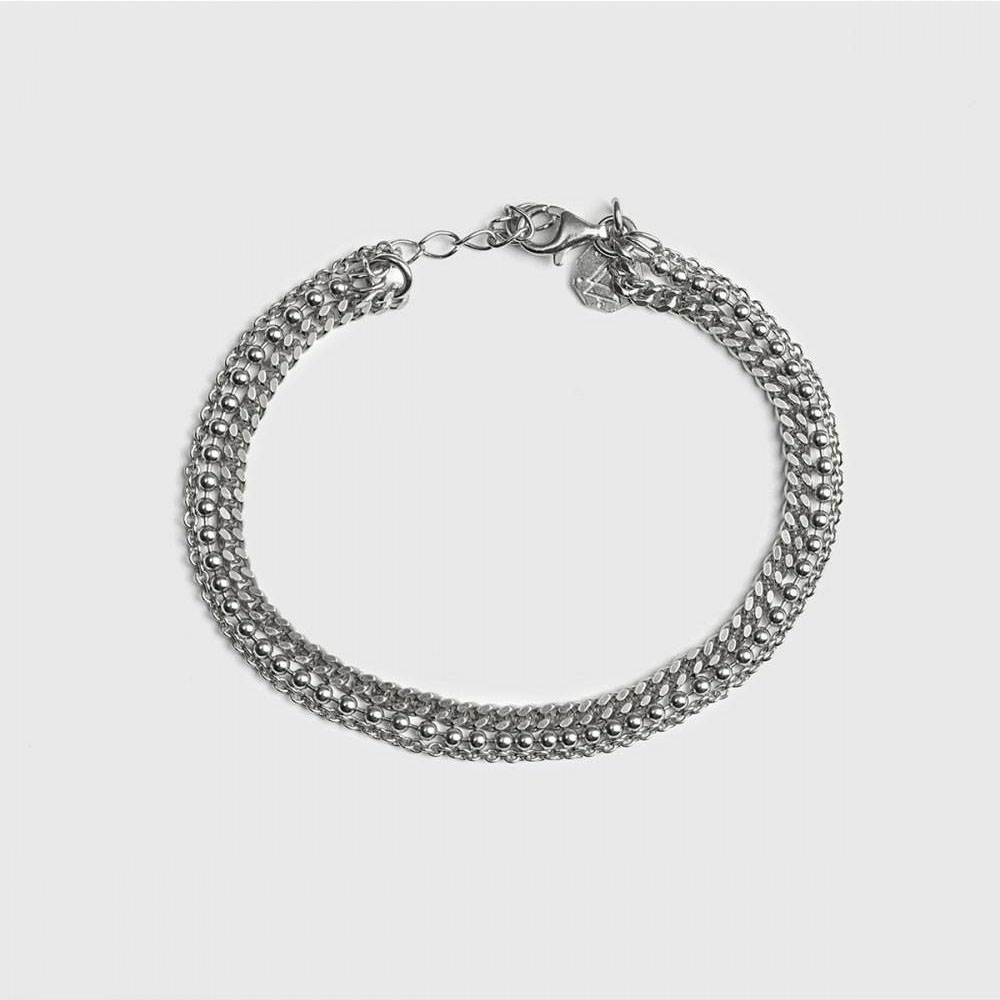
A brass round‑bead bracelet chain combines a warm golden hue with solid weight and durability. Making it by hand allows full creative control over bead size, finish, texture, and chain style. This article guides you step‑by‑step from raw brass rod or wire to a polished, wearable brass bead bracelet, with all essential techniques and tips.
2. Overview of Brass as a Jewelry Material
-
Brass composition: an alloy of copper and zinc, often containing 60–70% copper.
-
Properties: easily machinable and formable; color ranges from pale yellow to bright gold‑tone, depending on zinc content.
-
Advantages: affordable, durable, good detail retention, takes polish well.
-
Limitations: prone to tarnish and oxidation; some people with metal sensitivities may react to residual copper or nickel trace. Appropriate sealing and finishing can reduce issues.
3. Materials, Tools, and Safety Equipment
Materials
-
Brass rod or thick brass wire (e.g. 4 mm or 5 mm diameter, depending on desired bead size).
-
Jewelry‑grade beading wire, cord, or strong braided thread.
-
Jump rings and clasp (toggle, lobster, or spring ring). Optional spacer beads.
-
Polishing compounds and lacquer (optional).
Tools
-
Jeweller’s saw or metal‑cutting saw.
-
Files (flat, half‑round, needle).
-
Ball peen hammer and bench block (for forming spherical beads).
-
Drill press or handheld rotary tool with small brass‑bit drill bits (0.8 mm–1.5 mm).
-
Sandpapers in graded grit (320, 600, 800, 1000) or polishing cloths.
-
Rotary tumbler (optional).
-
Calipers and ruler.
-
Bead scoops or tweezers.
Safety Equipment
-
Eye protection (safety glasses).
-
Dust mask or respirator when filing or drilling.
-
Gloves when handling sharp edges.
-
Ventilated workspace when using lacquer or sealing sprays.
4. Planning and Design
-
Decide bead size: typical round beads range 4 mm to 8 mm in diameter; larger beads add weight.
-
Count bead number: measure your wrist circumference and plan for spacing/clasp allowance.
-
Decide chain style: just beads on cord, or beads separated by spacers or small jump‑rings in chain links.
-
Design finishing: polished smooth, matte, hammered texture? Will you use sealant?
-
Estimate materials: order enough brass rod length to cut your beads plus waste (~20–30% extra).
5. Cutting and Preparing Brass Rod or Wire
-
Cut brass rod into manageable lengths (e.g. 50–100 mm per piece). Cut lengths slightly longer than required bead length (diameter × desired count).
-
Measure segments: if making 6‑mm beads, you might mark rod in 8 mm segments (to allow filing to round).
-
Use a jeweller’s saw or hacksaw to make vertical cuts at marks.
-
File each cut end to clean burrs and square off.
-
Check segment lengths with calipers to ensure consistency.
6. Forming Round Beads
You can form spherical beads by mechanical or rolling method:
Option A: Ball Peen Hammer + Bench Block
-
Place one brass segment on the bench block.
-
Use the rounded face of a ball peen hammer to strike all around the cylinder, gradually rounding it.
-
Rotate the piece as you hammer. Apply light, even blows; gradually build round shape.
-
After coarse shaping, alternate to a steel doming block or dapping punch to refine spherical form.
Option B: Roller or Tumbler forming
-
If you have a rotary tumbler, place cut segments with stainless steel shot and mild polishing compound.
-
Run for several hours to gently round edges.
-
Check for spherical shape; some manual filing may be needed.
Manual Filing
-
Use half‑round files and needle files to refine bead profiles.
-
Rotate the bead under the file to keep symmetry.
-
Finish with fine grit sandpaper (600‑1000) to smooth the surface.
Your aim: beads as close to perfect spheres as you can, with consistent diameter ± 0.1 mm.
7. Drilling Holes in Beads
-
Plan hole diameter: make holes just large enough to fit your beading wire or jump‑ring.
-
Use a small drill bit (e.g. 1.0 mm) in a drill press or rotary tool.
-
Secure each bead in a V‑block, soft‑jaw vise, or pin vice.
-
Keep piece steady to avoid wobble.
-
Slow drilling speed with light downward pressure avoids cracking.
-
Lubricate with a tiny dab of light oil or wax to reduce heat/friction.
-
After drilling, blow out metal swarf or rinse beads to remove shavings.
-
Inspect that hole is clean, central, and smooth; use micro‑reamer if necessary.
8. Cleaning and Polishing Beads Before Assembly
-
Soak beads in warm mild dish soap or water with mild detergent to remove oils and filing dust.
-
Rinse and air‑dry completely.
-
Polish each bead using fine sandpapers or polishing cloth, going through finer grits (400→600→800→1000).
-
For high gloss: use jeweller’s rouge or metal buffing compound on a felt wheel or buffing cloth.
-
If desired, tumble polish with leather or clean ceramic media to refine surface.
-
Final wipe with gentle solvent (like isopropyl alcohol) to remove residues before assembly.
9. Stringing Beads into a Bracelet Chain
You have several design options:
Option A: Beads on Jewelry Wire or Cord
-
Use strong flexible beading wire (e.g. .019″ steel‑core wire) or synthetic cord.
-
String beads in sequence, optionally alternating spacer beads or tiny metal rondelles.
-
Center beads so clasp placement aligns with wrist center.
Option B: Beads Inter‑linked with Jump Rings (Bead‑Chain Style)
-
Drill holes slightly off‑center and insert a fine wire (0.8–1 mm) to create a loop on each bead.
-
Solder or wrap ends into small loops.
-
Connect beads link‑by‑link with jump rings for flexible chain.
(This method requires intermediate wire‑wrapping and may resemble vintage bead chains.)
Option C: Mixed design
-
Combine bead clusters with chain segments, decorative links, or spacer beads.
-
Use split rings or closed jump rings to join sections securely.
10. Securing, Clasping, and Finishing Details
-
After stringing, slide on a crimp tube or bead tip at each end.
-
Thread wire/cord through clasp’s loop, then back through the crimp tube and a bead.
-
Use crimp pliers to flatten the crimp tube, locking cable inside. Trim excess.
-
If using cord, apply knot‑glue at knotted ends and tuck inside beading bead tip.
-
Attach your choice of clasp (lobster, toggle, or spring ring).
-
Add a short extender chain if adjustable length is desired.
11. Final Polishing and Surface Finishes
-
With the assembled bracelet on a soft surface, polish gently with a micro‑fiber cloth.
-
Apply additional buffing compound in hard‑to‑reach areas if needed.
-
For a textured finish, you can re‑hammer lightly with a fine grain planishing hammer.
12. Protective Coatings and Tarnish Prevention
-
To preserve bright brass: apply a clear lacquer spray or specialty jewelry sealant.
-
Alternatively, use thin transparent skin‑safe plating (e.g. rhodium or clear lacquer designed for jewelry).
-
Allow complete curing (per product instructions) in a dust‑free area (usually 24 hours).
-
Some artisans apply a micro‑thin layer of Renaissance wax to protect finish and slow tarnish.
13. Quality Control and Inspection
-
Check bead alignment and symmetry along bracelet—no beads hanging off or skewed.
-
Test clasp strength and crimps—there should be no slippage.
-
Inspect holes—no burrs or sharp edges that might cut thread or snag skin.
-
Check finish—look for polishing scratches, fingerprints, or tarnish spots.
-
If sealant is applied, ensure even coverage and no drips or haze.
14. Common Problems & Troubleshooting
| Issue | Cause | Solution |
|---|---|---|
| Cracked or chipped beads | Over‑hammering, too thin brass, or trapped internal stress | Use thicker stock; hammer gently; anneal brass if needed |
| Uneven holes or off‑center holes | Improper fixturing or misalignment | Use a V‑block or flat jig; mark centre precisely |
| Tarnish appearing quickly | No sealant; skin oils accelerating oxidation | Apply lacquer or wax; advise client to avoid water/chemicals |
| Thread breakage when pulling through holes | Sharp burrs | File and smooth inside holes with reamer or polished wire |
| Bracelet feels stiff or beads sit crooked | Inflexible joining or poor stringing | Use flexible wire; avoid over‑tight crimping; allow slight movement |
15. Maintenance Tips for Brass Jewelry
-
Encourage users to rub with soft cloth after each wear to remove oils and moisture.
-
Avoid exposure to water, sweat, perfumes, lotions. Remove before shower or swimming.
-
For tarnish: gently clean with lemon‑juice or vinegar soak (diluted), rinse thoroughly, dry, and reapply polish or wax.
-
Reapply protective lacquer or wax periodically to maintain sheen.
16. Conclusion
Crafting a brass round‑bead bracelet chain from scratch is a rewarding combination of metal‑working, precision drilling, refining polish, and careful assembly. You begin with raw brass rod or wire, cut and shape it into spherical beads, drill precise holes, polish each bead to your desired sheen, then string and finish with secure crimps and clasps. Optional protective sealants and diligent inspection ensure long‑lasting beauty.
By following each step deliberately—from design and planning to polishing and sealing—you can create a bracelet that is not only visually appealing, but also durable and wearable. Whether you’re working in a backyard studio or a jewelry workshop, these techniques give you the creative freedom to make brass bead chains in your own signature style.
Let me know if you’d like demonstrations on any step, video references, or specific tooling recommendations!