The manufacturer of Designing a Custom Crewneck Necklace with Thick Chain and Pavé Element in Cubic Zirconia


Makes custom jewelry supplier
LET’S GET STARTED : mo@kingjy.com
Forging Identity: The Manufacturer’s Journey in Designing a Custom Crewneck Necklace with Thick Chain and Pavé Cubic Zirconia
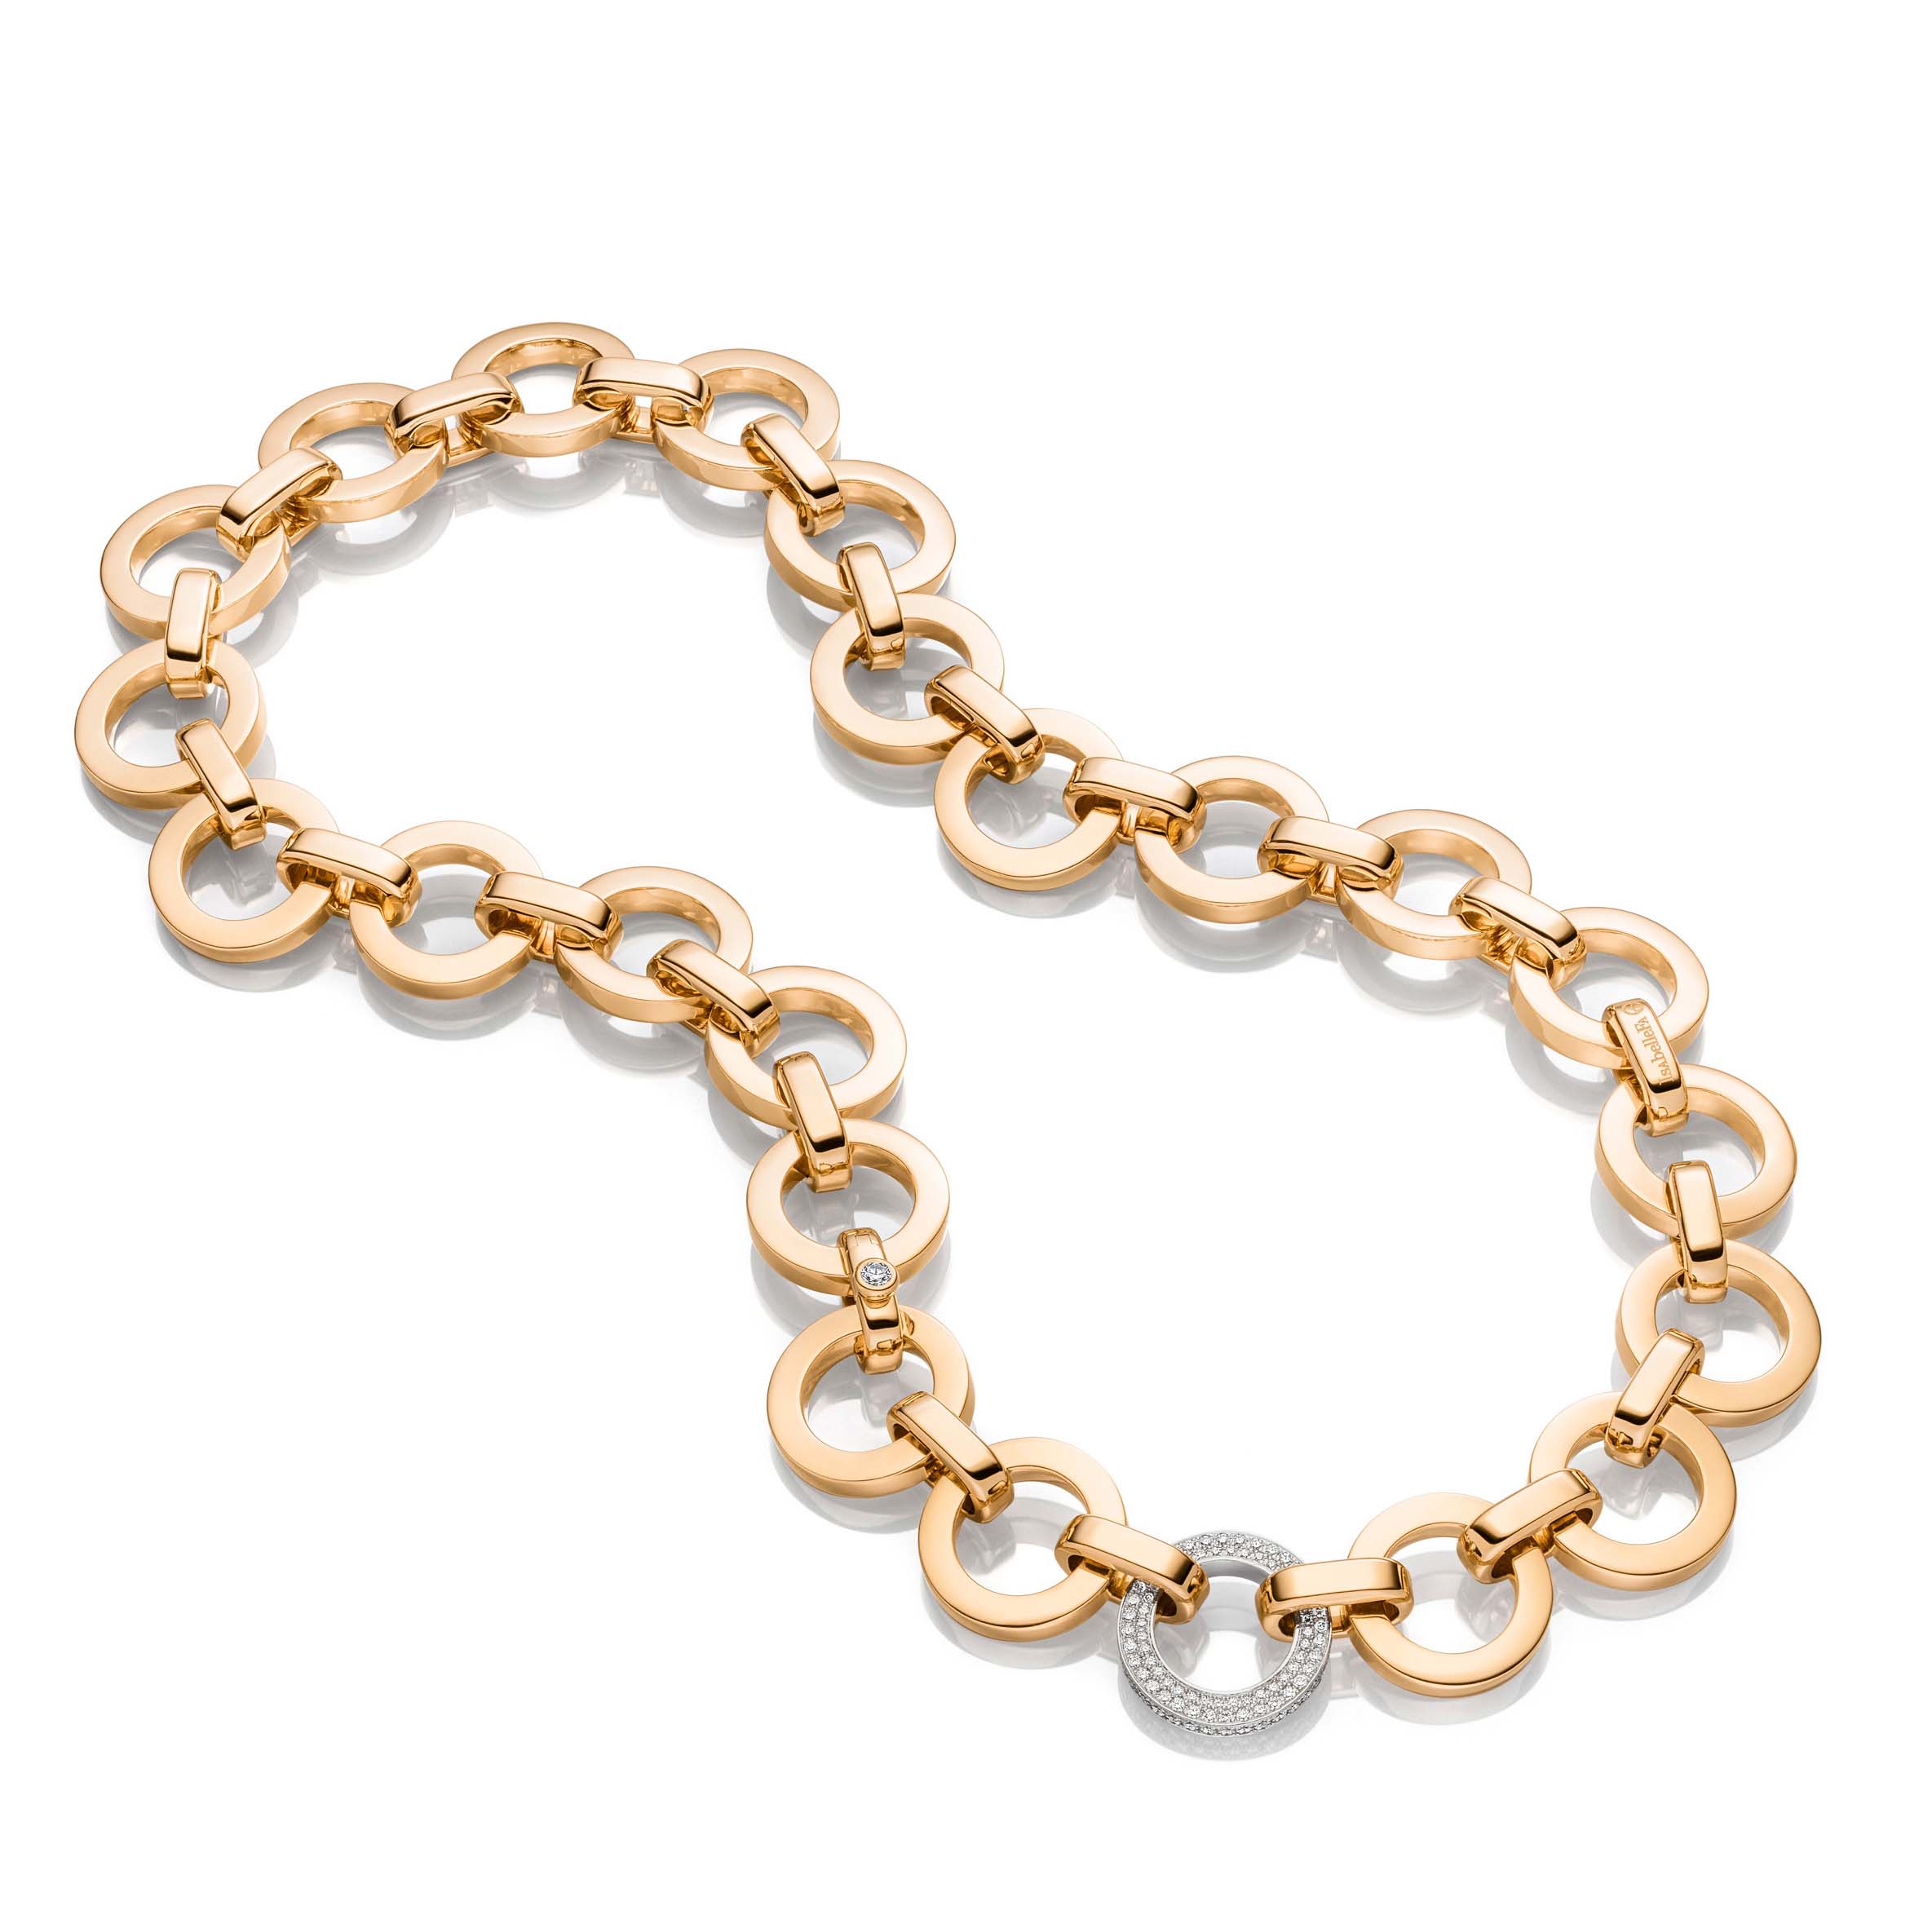
In the dynamic world of fine jewelry and fashion accessories, the desire for personalization and statement pieces has never been stronger. Moving beyond off-the-shelf products, clients—from individual influencers to established brands—are seeking unique creations that embody a specific aesthetic, ethos, and quality. Among the most sought-after custom items is the crewneck necklace: a bold, contemporary piece characterized by a thick, often Cuban or Figaro-style chain that sits snugly on the collarbone. When this robust form is combined with the meticulous brilliance of pavé-set cubic zirconia (CZ), the result is a powerful fusion of strength and sparkle.
The journey from a nascent idea to a finished, gleaming piece of jewelry is a complex symphony of art, science, and engineering. For a manufacturer specializing in such custom work, the process is a meticulous, multi-stage endeavor that demands expertise at every turn. This article will delve deep into the manufacturer’s role in designing and producing a custom thick chain crewneck necklace with pavé CZ elements, exploring each phase from initial concept to final quality assurance.
Phase 1: The Conception – Collaborative Design and Technical Translation
The genesis of any custom piece is not on the factory floor but in the realm of ideas and communication. This initial phase is arguably the most critical, as it sets the foundation for everything that follows.
1.1 The Deep-Dive Consultation
The process begins with an intensive consultation between the client and the manufacturer’s team, which typically includes a sales account manager, a senior jewelry designer, and often a production engineer. The client arrives with a vision, which can range from a detailed sketch to a collection of inspirational images, mood boards, or even just descriptive keywords like “bold,” “retro,” “minimalist,” or “opulent.”
Key discussion points are thoroughly explored:
- Design Aesthetic: Defining the overall style. Should the piece feel industrial and modern, or classic and luxurious?
- Chain Specifications: The “crewneck” style implies a specific length (typically 14 to 16 inches) and a snug fit. The chain’s style must be decided: a classic Cuban link (uniform, interlocking oval links), a Figaro link (a pattern of longer flattened links separated by several small circular ones), a Rope chain, or a custom-designed link unique to the client.
- Dimensionality: The thickness and width of the chain are paramount. A “thick chain” could mean a 5mm width, a 8mm, or even more substantial. The manufacturer advises on the weight, comfort, and metal usage implications of each.
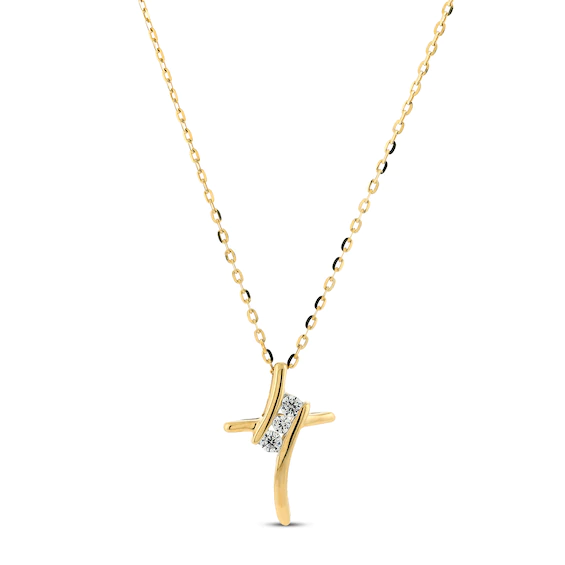
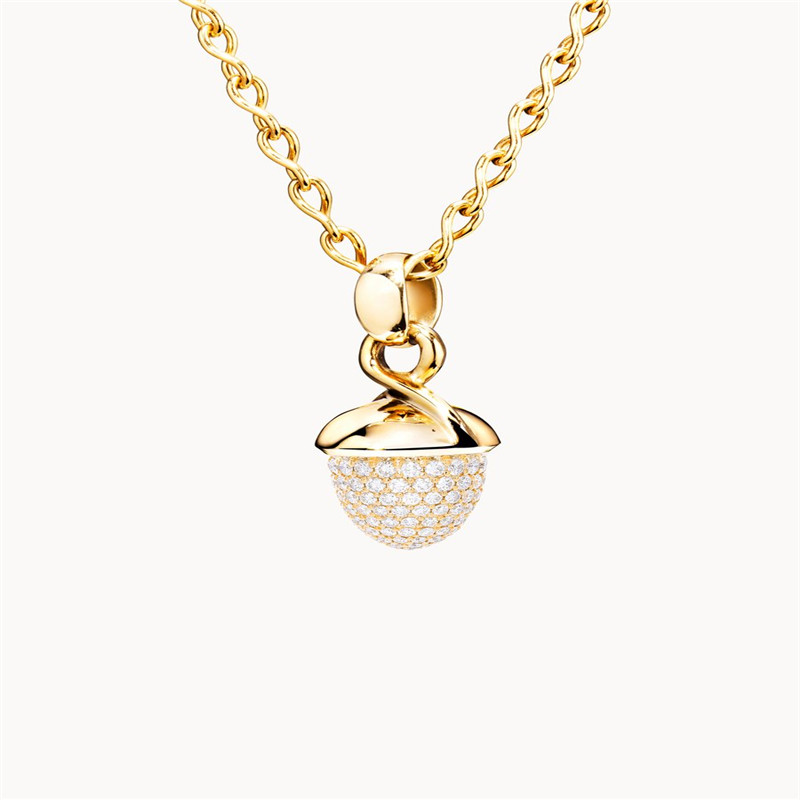
- Pavé Element Design: The location, size, and pattern of the pavé section must be defined. Will it be a single, dramatic stone on each link’s center? A continuous strip running along the length of the chain? Or a clustered pattern on a central pendant attached to the chain? The size of the cubic zirconia stones (e.g., 1.0mm, 1.5mm, 2.0mm) is also determined here.
- Material Selection: The base metal is chosen. While this article focuses on sterling silver (92.5% pure silver, 7.5% copper for strength) as a premium base for plating, the options are vast. The client may choose to have the final piece plated in a specific gold variant: classic Yellow Gold (14k, 18k), contemporary White Gold, or trendy Rose Gold. The thickness of this plating (e.g., standard plating vs. heavy vermeil at 2.5+ microns) is a key cost and durability factor.
- Functionality and Clasp: The type of clasp is crucial for both security and aesthetics. A robust lobster clasp, a spring ring clasp, or a custom-designed clasp that integrates seamlessly into the chain’s design are all options.
- Target Budget and Timeline: A professional manufacturer guides the client towards a design that is not only beautiful but also feasible within their budget and production timeline. They provide realistic cost estimates based on metal weight, stone count, and labor intensity.
1.2 The Digital Birth: CAD Modeling and Prototyping
Once the conceptual design is finalized and approved, it moves from the abstract to the precise digital realm. A skilled CAD (Computer-Aided Design) technician or engineer takes the agreed-upon sketches and notes and translates them into a meticulous 3D digital model.
This stage is where modern manufacturing separates itself from purely artisanal methods:
- Precision Engineering: The CAD model is built to exact micron-level specifications. Every curve of every link, the exact gauge of the metal, the precise dimensions for each stone setting—all are defined mathematically. This ensures consistency and accuracy that is impossible to achieve by hand alone, especially for a repeating pattern like a chain.
- Visualization and Rendering: The manufacturer provides the client with photorealistic 3D renderings of the model. These images, which can be viewed from any angle and even in different virtual lighting conditions, allow the client to see a perfect digital prototype of the necklace. This step is invaluable for preventing misunderstandings and ensuring the client’s vision is perfectly captured before any metal is cast.
- Design for Manufacturability (DFM): The CAD engineer doesn’t just create a beautiful model; they engineer it for production. They ensure that the links will articulate correctly without pinching, that the pavé settings are structurally sound and will securely hold the stones, and that the design can be efficiently cast, assembled, and plated.
- 3D Printing a Physical Prototype: Using the CAD file, the manufacturer often creates a physical resin prototype via Stereolithography (SLA) or Direct Light Processing (DLP) 3D printing. This allows the client to hold a lightweight, exact replica of the design, assessing its size, weight distribution, and overall feel on the body. This “rapid prototyping” step is the final check before committing to expensive metal casting.
Phase 2: Materializing the Form – Master Model and Molding
With the digital design locked in, the process transitions to creating the master patterns that will be used for production.
2.1 Crafting the Master Metal Model
For a piece like a chain, which requires multiple identical links, the creation of a master model is essential. The 3D-printed resin prototype can be used directly, but for high-volume production or extreme durability, the manufacturer often creates a metal master.
- The resin pattern is sprued (attached to a wax tree) and cast in a high-resolution metal, like brass or silver, using the investment casting process described later. This creates a perfect metal duplicate of the original link design.
- This metal master is then hand-finished and polished by a master jeweler to absolute perfection. Any flaw in the master will be replicated in every subsequent copy, so this step is done with painstaking care.
2.2 Rubber Mold Making
The perfected metal master model is then sent to the mold-making department. It is placed in a cylindrical aluminum frame, and liquid silicone rubber is injected around it under high pressure and vacuum to eliminate air bubbles. The rubber is then heat-cured until it becomes a solid block.
Once cured, this rubber block is carefully sliced open with a surgical blade in a process called “venting.” The original metal master is removed, leaving behind a perfect negative cavity in the shape of the necklace link or component. This rubber mold is now the template for producing wax patterns for mass casting.
Phase 3: The Casting Process – From Wax to Metal
This is the alchemical heart of jewelry manufacturing, where the design takes its metallic form.
3.1 Wax Injection and Assembly
The rubber mold is placed in a wax injection machine. Molten wax is forced into the mold’s cavity under pressure. Once cooled, the wax is ejected, resulting in a perfect wax replica of the master model. For a chain, hundreds of these wax links are produced. These individual wax links are then meticulously assembled by hand onto a wax “tree,” using heated tools to melt and fuse them together. This tree structure allows for the casting of dozens of components in a single pour, maximizing efficiency.
3.2 Investment Casting (The Lost-Wax Process)
The wax tree is now subjected to the ancient, yet perfectly refined, lost-wax casting process.
- Investing: The tree is placed inside a steel flask. A liquid gypsum-based investment plaster is poured around it and placed in a vacuum chamber to remove any trapped air, ensuring the plaster captures every minute detail of the wax patterns.
- Burnout: The invested flask is placed in a kiln and heated to a specific cycle. The heat hardens the investment into a solid, rock-like mold while the wax inside melts and completely vaporizes—”lost,” leaving behind perfect hollow cavities in the exact shape of the jewelry components.
- Casting: The flask, now hot, is immediately transferred to a casting machine. Pre-measured pieces of sterling silver are melted in a crucible using a torch or induction heating. In a centrifugal casting machine, the molten metal is forced by centrifugal force into the empty cavities of the flask. In vacuum casting, a vacuum suction pulls the metal into the mold. The result is a solid metal tree of silver necklace links.
3.3 Devesting and Cutting
After the metal has cooled, the investment flask is quenched in water, causing the brittle investment material to crack away from the metal tree—a process called “devesting.” The rough, matte-finished silver links, still attached to the central sprue, are revealed. They are then carefully cut off from the tree using specialized saws.
Phase 4: The Art of Finishing and Embellishment
The raw castings are now recognizable as chain links, but they are rough, porous, and lack any luster. This stage transforms them into polished, refined components.
4.1 Initial Finishing: Tumbling and Pre-Polishing
The links undergo a process called tumbling. They are placed in a large, rotating drum filled with water, burnishing compound, and small, stainless steel shots. The tumbling action, which can last for hours, work-hardens the metal, smoothes out surface imperfections from casting, and begins to impart a preliminary shine. After tumbling, any remaining sprue marks or minor flaws are manually removed by craftsmen using files and sanding tools.
4.2 The Precision of Pavé Stone Setting
This is one of the most skilled and labor-intensive stages in the entire process. A master stone setter takes over.
- Preparation: Each link destined for pavé is secured in a holding vice. Under high-power magnification, the setter uses tiny burs (drill bits) to carefully clean and precisely cut the “seats” or “holes” for each individual cubic zirconia stone. The pattern must be perfectly aligned.
- Setting: Using ultra-fine tools like tweezers, pushers, and microscopes, the setter places each tiny CZ stone into its prepared seat. The pavé technique involves using a graver to carefully raise minute beads of metal from the surrounding surface. These beads are then skillfully pushed over the girdle of each stone, securing it in place. The goal is to hold each stone securely while allowing maximum light exposure for brilliance, and to create a continuous “paved” surface of sparkle with minimal visible metal between the stones. This requires an immense amount of skill, patience, and a steady hand.
4.3 Assembly and Soldering
For a chain, the polished and set links must be assembled. Each link is carefully linked together by hand to form the complete chain length. The ends of the chain are then soldered to the chosen clasp mechanism. Soldering involves using a torch to melt a small piece of solder (a lower-melting-point alloy) to fuse the components together without melting the main body of the piece. This is done before plating to ensure a seamless, strong join that will be invisible under the final finish.
4.4 High-Polishing
Before plating, the entire assembled necklace must be brought to a mirror shine. It is polished on rotating wheels dressed with different grades of polishing compounds (rouge), moving from coarse to fine. This step is crucial because any scratch or imperfection on the silver surface will be visible through the subsequent gold plating layer. The high polish is what gives the final piece its reflective, luxurious base.
Phase 5: The Gilded Finish – Electroplating
This is the transformative stage where the sterling silver necklace receives its final golden color and enhanced protection.
5.1 Meticulous Ultrasonic Cleaning
The absolute prerequisite for successful plating is a perfectly clean surface. Any trace of oil, polish residue, or fingerprints will cause the plating to peel or appear blotchy. The necklace is subjected to a rigorous cleaning regimen: first in an ultrasonic cleaner with a heated chemical solution that uses high-frequency sound waves to scrub contaminants from every crevice, followed often by an electro-cleaning bath for a final, guaranteed clean.
5.2 The Electroplating Process
The clean, dry necklace is carefully mounted on a conductive rack that will hold it in the plating solution.
- The Bath: The rack is immersed in a temperature-controlled tank containing an electrolyte solution and an anode (a solid bar of the plating metal, e.g., 24k gold for yellow gold plating).
- The Science: The rack is connected to the negative terminal (cathode) of a rectifier, and the anode to the positive terminal. When an electrical current is applied, a electrochemical reaction occurs: gold ions from the solution are attracted to and deposited onto the negatively charged necklace, forming a uniform, metallic coating over every surface. The thickness of this plating is meticulously controlled by the amperage and the duration in the bath.
- Quality Standards: For a piece meant to last, the manufacturer will use a heavy gold plating or vermeil (a minimum of 2.5 microns of gold over sterling silver). This substantial layer provides superior durability, tarnish resistance, and a richer color compared to standard thin plating.
5.3 Final Rinsing and Protection
After plating, the necklace is thoroughly rinsed in deionized water to remove all chemical residues. It is often treated with an anti-tarnish solution or a clear, protective lacquer coat (particularly on rose gold pieces) to shield it from oxidation and everyday wear, ensuring it reaches the customer in pristine condition.
Phase 6: The Final Vigil – Quality Assurance and Packaging
The journey concludes with a rigorous final inspection and professional presentation.
6.1 Multi-Point Quality Control
Every single necklace undergoes a exhaustive final check by dedicated quality control inspectors.
- Visual Inspection: Under high-intensity lamps and magnification, every link, clasp, and stone is examined for any plating flaws, scratches, polishing marks, or setting issues.
- Structural Integrity: The clasp is tested repeatedly for secure opening and closing. The chain is checked for strength and to ensure all links are properly closed and soldered.
- Stone Check: Each pavé-set CZ stone is verified for security (no movement), alignment, and that it is free of chips or cracks.
- Dimension and Weight Verification: The final piece is measured and weighed to ensure it matches the specifications promised to the client.
- Precious Metal Verification: Using X-ray Fluorescence (XRF) technology, the manufacturer can non-destructively verify the thickness of the gold plating and the purity of the underlying sterling silver, providing documented assurance of quality.
6.2 Packaging and Fulfillment
The approved necklace is given a final polish to remove any handling marks. It is then packaged according to the client’s brand specifications. This could involve:
- Anti-tarnish pouches for storage.
- Mounting on premium, branded presentation cards.
- Placement in elegant, velvet-lined gift boxes.
- Inclusion of care instructions and a certificate of authenticity.
For bulk orders, pieces are carefully packed in larger shipping boxes for secure transport to the client’s destination.
Conclusion: The Manufacturer as Creative Partner
The creation of a custom crewneck necklace with a thick chain and pavé CZ elements is a profound demonstration of modern manufacturing prowess. It is a journey that seamlessly blends artistic vision with scientific precision, traditional craftsmanship with cutting-edge technology. The manufacturer’s role evolves from that of a mere fabricator to a essential creative and technical partner, guiding the client through every decision and overcoming countless complex challenges to bring a unique vision to life. The final product is more than an accessory; it is a wearable testament to collaboration, innovation, and the relentless pursuit of quality—a statement piece, in every sense of the word.