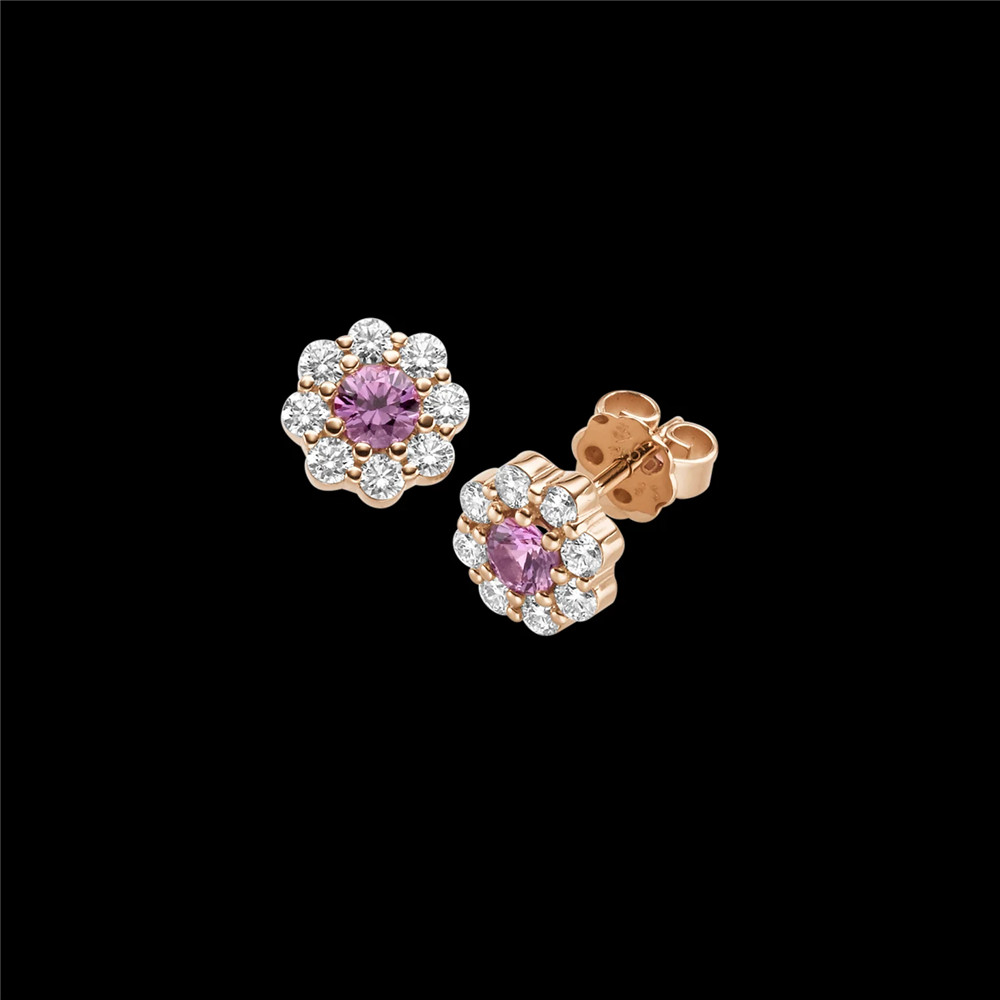
Sample Procedure, Costs, and Lead Times for 925 Sterling Silver Vermeil Gold Earrings at JINGYING


The Sample Procedure, Costs, and Lead Times for 925 Sterling Silver Vermeil Gold Earrings at JINGYING
LET’S GET STARTED : mo@kingjy.com
the Sample Procedure, Costs, and Lead Times for 925 Sterling Silver Vermeil Gold Earrings at JINGYING
Abstract
This document provides an in-depth examination of the end-to-end process of sourcing and procuring custom 925 Sterling Silver vermeil gold earring samples from JINGYING, a representative manufacturer specializing in high-quality fashion and fine jewelry. For emerging designers, established brands, and retail buyers, the sample stage is the most critical phase in the product development lifecycle. It is where a concept is transformed into a tangible product, and where the partnership between designer and manufacturer is truly tested. This article meticulously details JINGYING’s sample procurement procedure, breaking down each step from initial inquiry and design submission to final sample approval. It further provides a transparent analysis of the cost structure involved in sampling, isolating every contributing factor from materials and labor to tooling and shipping. Finally, it establishes a realistic timeline for each phase of the process, explaining the variables that can compress or extend lead times. The objective is to demystify the sampling process, equip potential clients with the knowledge to navigate it efficiently, and set clear expectations for a successful collaboration with a manufacturer like JINGYING.
1. Introduction: The Strategic Importance of Sampling in Jewelry
Before delving into the specifics of JINGYING’s operations, it is crucial to understand why the sampling process is not merely a procedural step but a strategic investment.
For a buyer, a sample serves multiple purposes:
- Concept Validation: It transforms a 2D sketch or a CAD rendering into a physical object that can be held, felt, and assessed for its aesthetic appeal, weight, and proportion.
- Quality Assurance: It is the first real test of the manufacturer’s capabilities regarding craftsmanship, finishing, and adherence to material specifications (e.g., the thickness of the gold vermeil layer).
- Market Testing: It allows the buyer to present a finished product to focus groups, buyers from large retailers, or use it for professional photography to gauge market interest and secure pre-orders before committing to a large, costly production run.
- Process Validation: The sample process reveals the efficiency, communication skills, and reliability of the manufacturer. A smooth sampling process is a strong indicator of a smooth production run.
For a manufacturer like JINGYING, the sample process is equally critical:
- Capability Demonstration: It is their opportunity to showcase their expertise, quality standards, and attention to detail, thereby winning the client’s trust and the subsequent production order.
- Technical Assessment: It allows their engineering and production teams to identify any potential challenges in manufacturing the design at scale, allowing for adjustments before mass production begins.
- Costing Calibration: The sample process provides real-world data that refines their initial cost estimates, ensuring the final quotation for mass production is accurate and sustainable.
JINGYING, as a prototypical manufacturer with a focus on quality mid-to-high-range fashion jewelry, has developed a structured and detailed sample procedure to meet these needs for both parties.
2. Phase 1: The Sample Procedure – A Step-by-Step Walkthrough
The journey from an idea to a sample in your hand is a multi-stage process involving constant communication and precise execution.
Step 1: Initial Inquiry and Quotation Request (RFQ)
The process begins when a potential client submits an inquiry. This is most effective when it contains:
- Technical Drawings: Detailed 2D CAD drawings with all critical dimensions (length, width, height, gauge of wires, etc.). These drawings must specify different views (front, side, top).
- Inspiration Images/Mood Boards: Photos of similar products, design elements, or textures that convey the desired aesthetic.
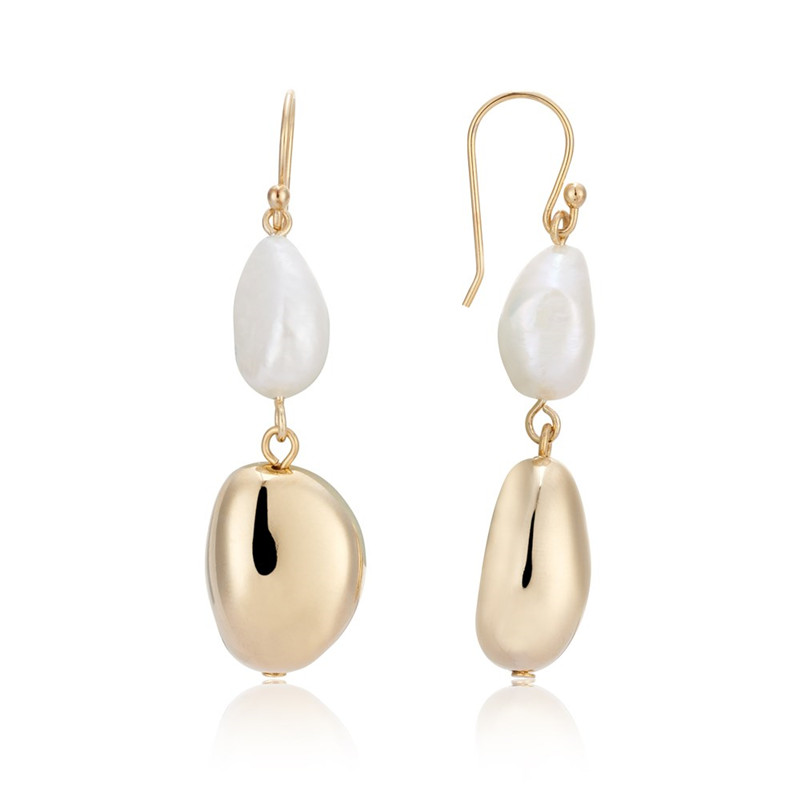
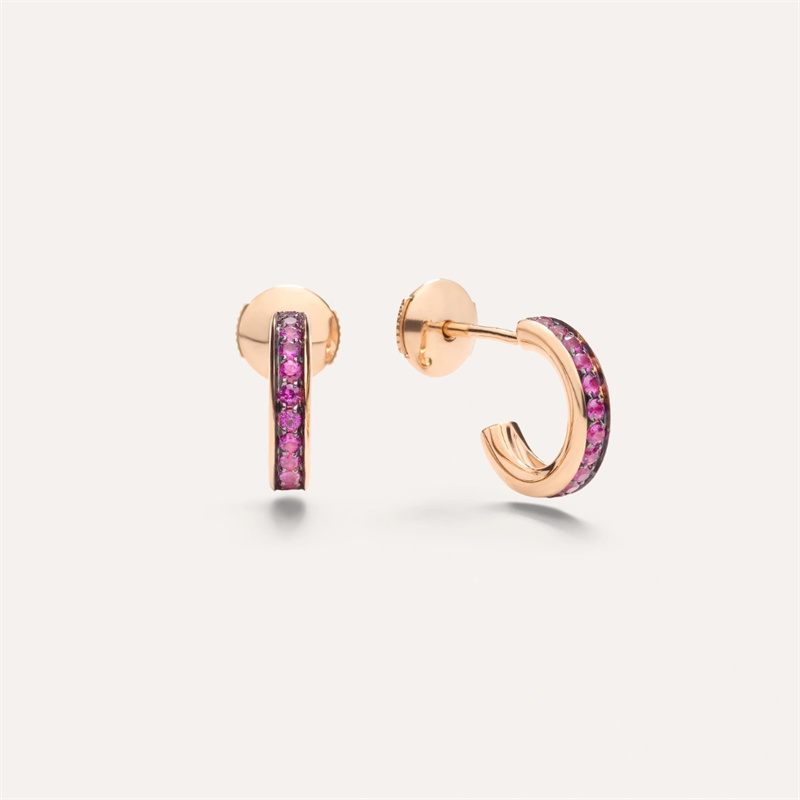
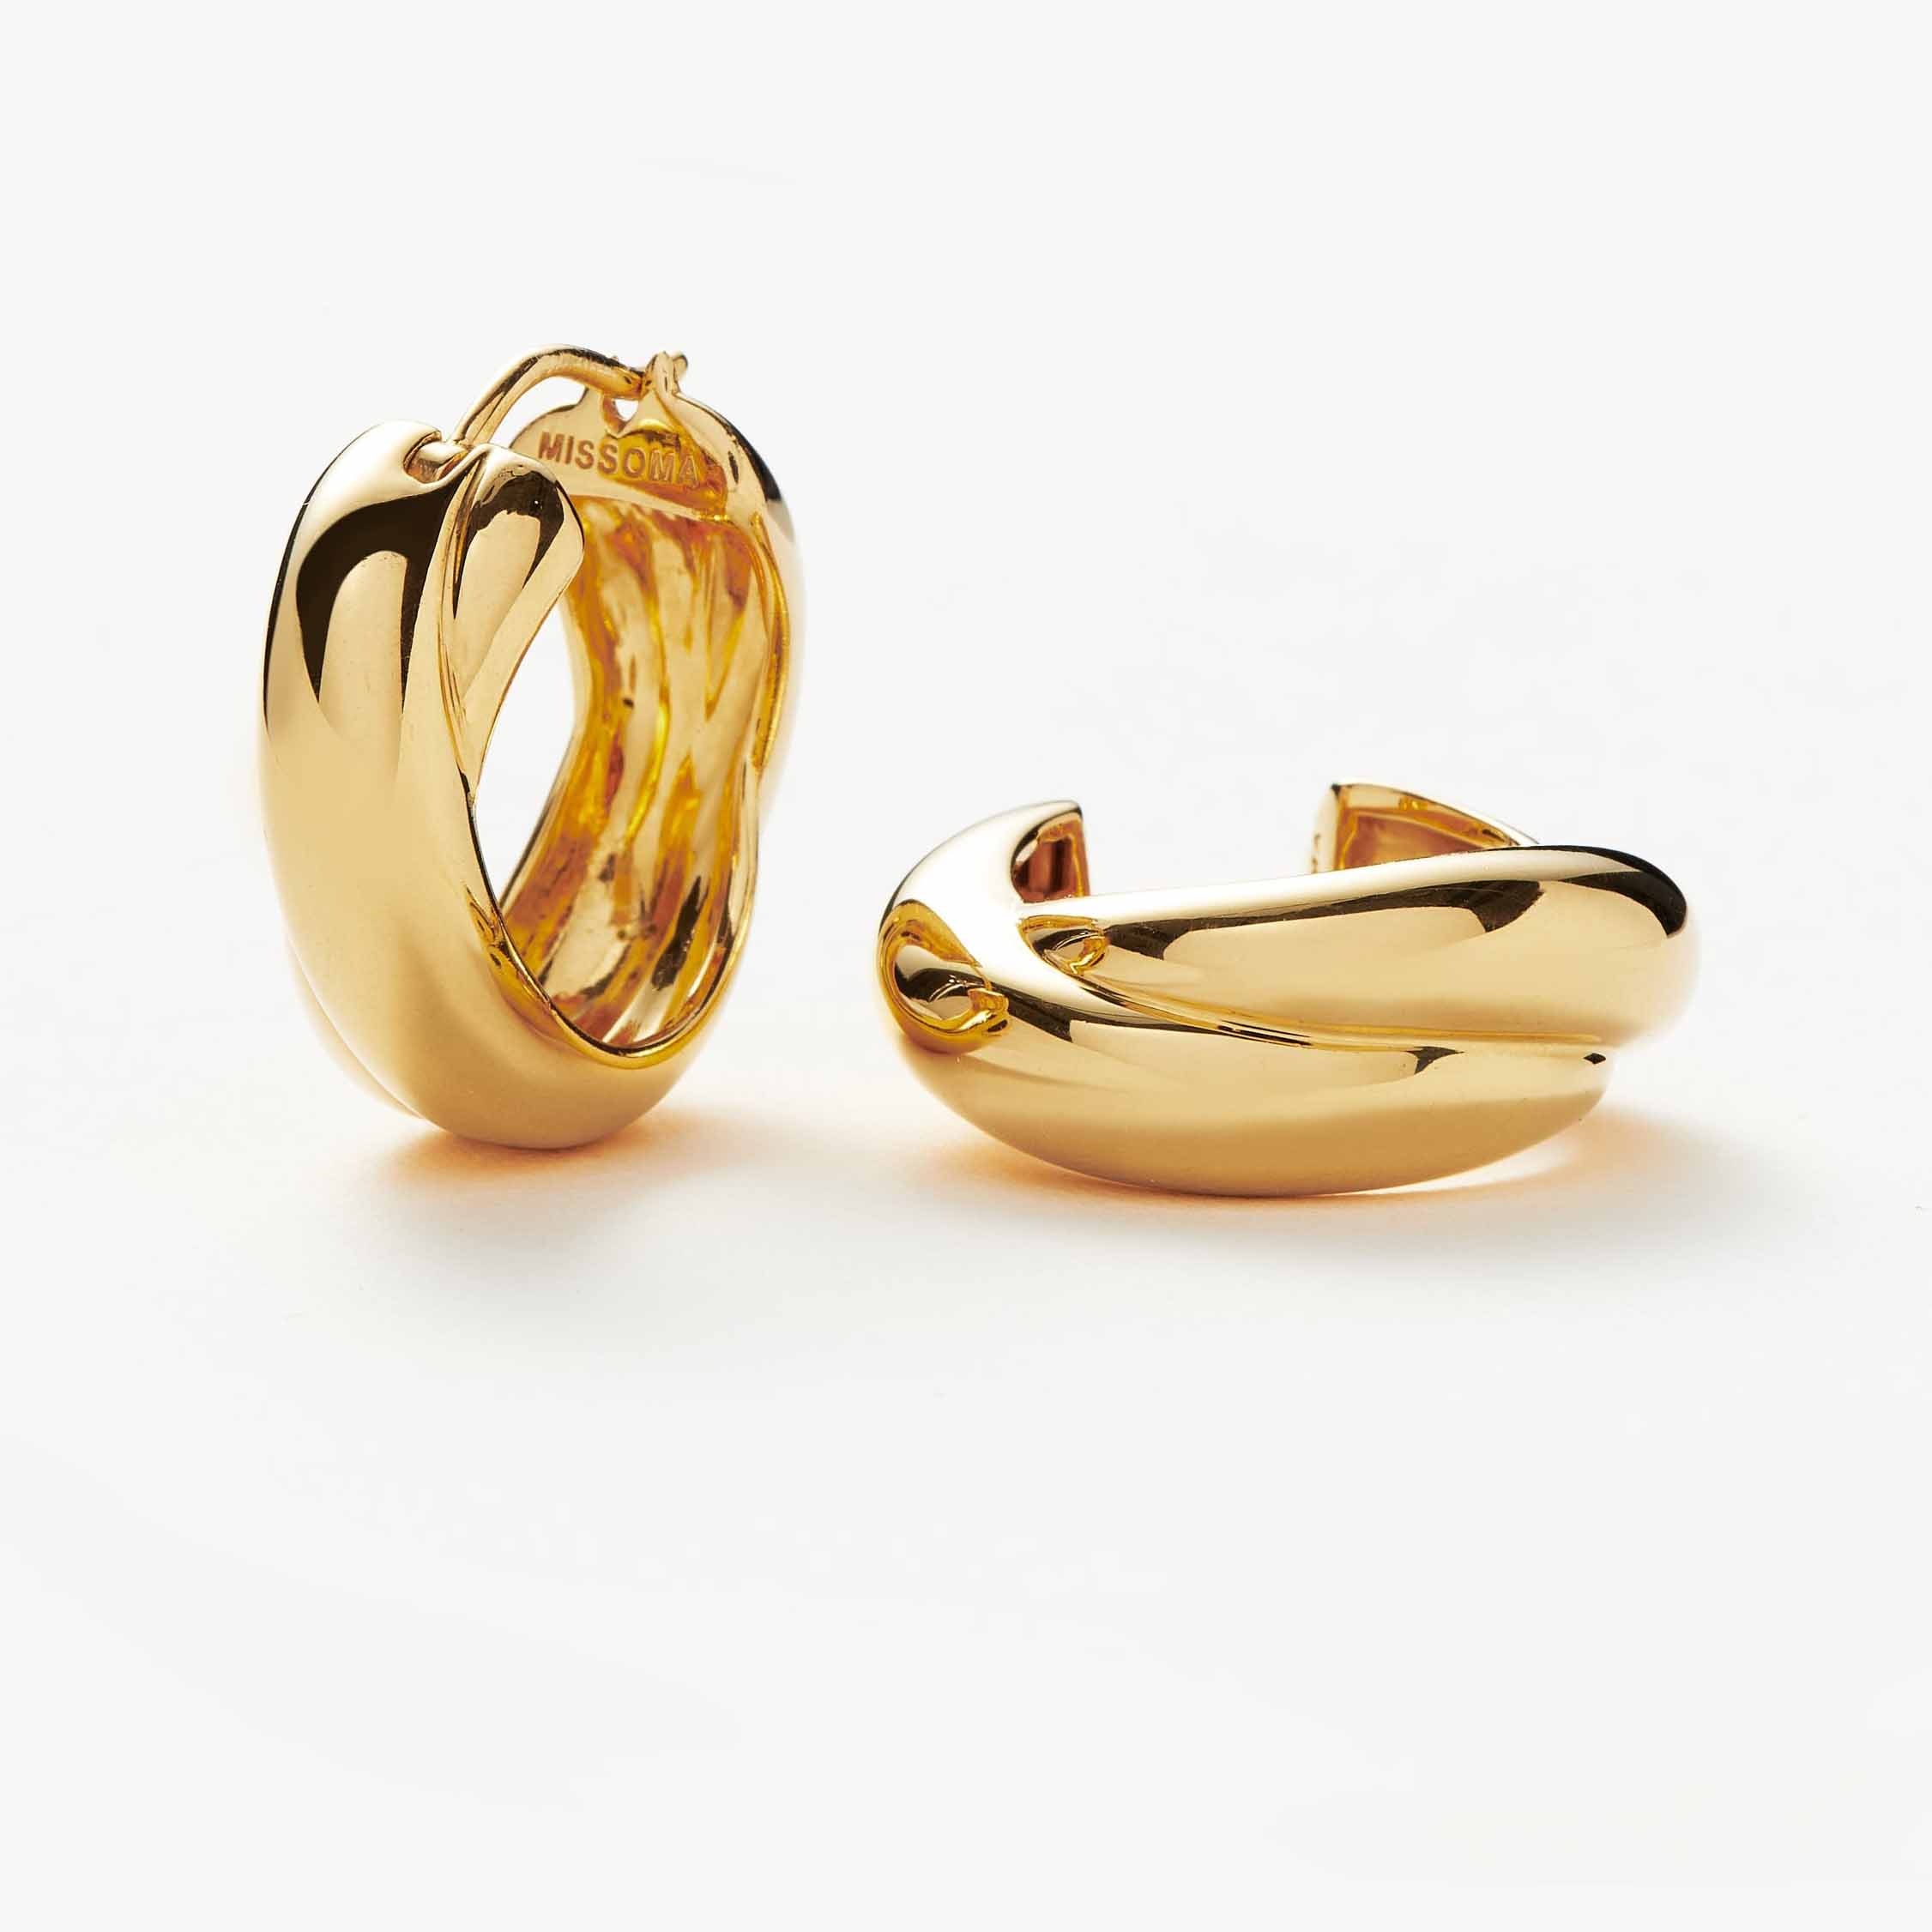
- Material Specification: A clear statement that the desired materials are 925 Sterling Silver with a vermeil finish. The client should specify the desired gold karat (e.g., 14k or 18k yellow gold) and any minimum thickness requirements for the vermeil layer (e.g., 2.5 microns, which is the industry standard for vermeil).
- Target Price and Quantity: While a sample is a one-off, providing an estimated first production order quantity (e.g., 500 pairs) allows JINGYING to provide a sample cost that aligns with the potential production costs. A target price per unit helps them suggest the most cost-effective manufacturing methods.
JINGYING’s Response: Within 1-2 business days, a sales representative will acknowledge the inquiry and assign a unique project number. They will review the designs for manufacturability and issue a preliminary Pro Forma Invoice (PI) for the sample. This PI will include a rough estimate for the sample cost and a tentative lead time.
Step 2: Design Finalization and Technical Engineering
Once the client agrees to proceed based on the preliminary PI, the design moves into the engineering phase.
- 3D CAD Modeling: If the client only provided 2D sketches, JINGYING’s in-house design team will create a precise 3D CAD model. This model is essential for 3D printing the master pattern.
- Design for Manufacturability (DFM) Review: JINGYING’s engineers will analyze the 3D model. They will suggest modifications to enhance durability, reduce costs, or simplify production. For example, they might recommend thickening a delicate part of an earring that is prone to bending or adjusting the angle of a post for better ergonomics. This collaborative step is crucial for avoiding costly mistakes later.
- Client Approval of 3D Renderings: The client receives photorealistic renderings of the CAD model from various angles. They must approve these renderings in writing before any physical work begins. This is the last point to make easy and cost-free changes.
Step 3: Tooling and Master Pattern Creation
This is where the digital world meets the physical world.
- 3D Printing (Rapid Prototyping): The approved CAD file is sent to a high-resolution resin 3D printer. This printer creates a plastic-like master pattern of the earring. This pattern is an exact physical replica of the design.
- Rubber Mold Making: The 3D-printed master is then sent to the mold-making department. It is placed in a steel frame, and liquid rubber is poured around it and vulcanized (heated under pressure) to form a solid block. This block is then expertly cut open with a surgical blade to remove the master, creating a negative cavity imprint of the earring—the rubber mold.
- Wax Tree Injection: Molten wax is injected under pressure into the rubber mold. Once cooled, the wax is removed, creating a perfect wax copy of the earring. Dozens of these wax copies are then carefully welded onto a central wax “tree” in a strategic arrangement to ensure even metal flow.
Step 4: Casting and Devesting
- Investment Casting: The wax tree is placed inside a steel flask, and a liquid plaster-like material, called “investment,” is poured around it. Once the investment sets, it is placed in a kiln where the wax is burned out completely, leaving a hollow, perfect negative of the tree inside the hardened investment—this is now the casting mold.
- Casting: The flask is taken to a casting machine. Granules of 925 Sterling Silver are melted in a crucible and, using centrifugal force or vacuum pressure, are forced into the hollow investment mold, filling every detail.
- Devesting: After the metal cools, the investment mold is quenched in water, causing it to break apart and reveal the raw, silver “tree” now covered in the rough, crusty-looking earrings.
Step 5: Pre-Finishing and Assembly
This is the most labor-intensive stage.
- Cutting Off: The individual earring castings are cut from the central tree trunk using a saw.
- Tumbling: The rough castings are placed in a tumbling machine with steel shots and abrasive media to smooth out the rough surfaces and begin the polishing process.
- Hand Filing and Sanding: Craftsmen meticulously file down any remaining metal sprues (where the piece was attached to the tree) and sand the pieces to remove any imperfections.
- Polishing: The pieces are polished on motorized wheels using progressively finer polishing compounds (rouge) to achieve a mirror-like shine on the sterling silver. This step is critical, as any scratch or pit left on the silver will be visible through the gold vermeil layer.
- Assembly: If the earring design involves multiple components (e.g., a post attached to a decorative element, or a clip-on mechanism), they are assembled at this stage by skilled solderers using a laser welder for precision.
Step 6: Gold Vermeil Plating
The polished sterling silver earrings are now ready for their gold finish.
- Ultrasonic Cleaning: The pieces are thoroughly cleaned to remove any polishing compounds, oils, or dust. Any contamination will prevent the gold from adhering properly.
- Electroplating: The earrings are immersed in an electrochemical bath containing a solution of potassium gold cyanide and other chemicals. They are connected to the negative cathode of a rectifier. A solid gold plate (anode) is connected to the positive terminal. An electric current is passed through the solution, causing gold ions to dissolve from the anode and deposit onto the negatively charged earrings, forming a strong metallic bond.
- Quality Control: The thickness of the gold deposit is meticulously controlled by the amperage and the time the pieces spend in the bath. JINGYING uses X-ray Fluorescence (XRF) guns to perform a spot-check on samples from the batch to verify that the gold layer meets the specified thickness (e.g., 2.5+ microns).
Step 7: Final Quality Control and Shipping
- QC Inspection: Each individual earring is inspected under magnification for defects in plating (e.g., discoloration, peeling), polishing, and construction. Earring backs are checked for function and security.
- Packaging: The approved samples are packaged securely, usually in a small ziplock polybag and placed in a padded envelope or small box.
- Shipping: The samples are shipped via a reliable international courier (e.g., DHL, FedEx). JINGYING provides the tracking number to the client.
Step 8: Sample Feedback and Production Quotation
Upon receiving the samples, the client has time to evaluate them. They provide formal feedback to JINGYING. If revisions are needed (“2nd round samples”), the process repeats from the necessary step. If the sample is perfect, JINGYING uses the actual costs from the sample process to generate a firm and detailed quotation for the full production order.
3. Phase 2: A Detailed Breakdown of Sample Costs
The cost of a single sample is always significantly higher than the per-unit cost during mass production. This is because the fixed costs of tooling and setup are amortized over a single unit rather than thousands. Here’s a breakdown for a pair of medium-complexity hook earrings at JINGYING:
| Cost Component | Description | Estimated Cost (USD) | Notes |
|---|---|---|---|
| 1. Setup & Administration | Cost of sales, communication, project management, and profit margin. | $50 – $100 | A fixed fee covering overhead. |
| 2. 3D CAD Modeling | Engineering time to create a precise, manufacturable 3D model from sketches. | $100 – $300 | Not needed if client provides ready-to-use 3D files (e.g., .STP/.IGES). |
| 3. Tooling (Mold Making) | Cost of rubber mold creation. This is a primary fixed cost. | $80 – $150 | The mold can be reused for future production runs. |
| 4. Materials | • Sterling Silver (approx. 2-3g) • 14k Gold Vermeil (2.5 microns) • Wax, investment, chemicals. |
$25 – $40 | Fluctuates with the daily silver and gold spot prices. |
| 5. Labor | • Casting technician • Polisher (1-2 hours of skilled labor) • Plater • QC Inspector |
$60 – $120 | Highly dependent on the complexity of the design. Intricate designs require more polishing time. |
| 6. Shipping | International courier fees (e.g., DHL from China to USA). | $40 – $70 | Depends on weight, destination, and shipping speed. |
| **Total Estimated Sample Cost | $355 – $780 |
Variables Affecting Cost:
- Design Complexity: A simple stud will be at the lower end. A large, intricate chandelier earring with multiple moving parts will be at the very top end or higher.
- Client-Provided Assets: If the client provides perfect, production-ready 3D files, the CAD cost is eliminated.
- Number of Revisions: Each round of revisions incurs additional costs for re-making molds, re-casting, and more labor.
- Plating Specifications: 18k gold vermeil is more expensive than 14k. A request for a 5.0-micron-thick layer (heavy vermeil) will cost significantly more in gold material than a standard 2.5-micron layer.
4. Phase 3: Realistic Lead Times and Managing Expectations
Lead time is the total time from receiving the initial deposit to the sample being shipped out. It is not just production time; it includes all administrative and waiting periods.
Standard Lead Time Breakdown:
- Step 1-2: Quotation & Engineering (Approval Loop): 3-5 business days. This can extend indefinitely if the client is slow to provide feedback or approve the CAD renders.
- Step 3: Tooling (Mold Making): 2-3 business days.
- Step 4: Casting & Devesting: 1-2 business days.
- Step 5: Pre-Finishing (Polishing): 3-5 business days. This is the most variable step. Complex designs can take a week or more to polish perfectly.
- Step 6: Plating & Final QC: 1-2 business days.
- Shipping (Transit Time): 3-5 business days via express courier.
Total Realistic Lead Time (Excluding Client Approval Time): ~15-20 Business Days (3-4 weeks).
Factors Extending Lead Time:
- Peak Seasons: Chinese New Year (late Jan/early Feb) and the autumn holiday (October) shut down factories for 2-3 weeks. Lead times before and after these holidays are drastically extended.
- Design Complexity: Intricate designs require more engineering and polishing time.
- Revision Rounds: Each request for a change resets the clock, adding another 2-3 weeks.
- Client Responsiveness: Delays in approving CADs or providing feedback are the most common cause of extended project timelines.
- Material Availability: Though rare, delays in procuring specific materials can occur.
5. Conclusion: Partnering with JINGYING for Success
The sample journey with a manufacturer like JINGYING is a detailed and investment-heavy process, but it is the bedrock of a successful product launch. By understanding the procedure, cost drivers, and timeline expectations, designers and brands can approach this phase with clarity and confidence.
The key to a smooth and efficient sampling process is communication and preparation:
- Provide Clear, Detailed Designs: The more information you give at the start, the fewer surprises there will be later.
- Ask Questions: A good partner like JINGYING will be transparent about their process. Don’t hesitate to ask for clarification on costs or timelines.
- Be Decisive with Feedback: Timely approvals prevent bottlenecks.
- View the Sample Cost as an Investment: It is an investment in quality assurance, risk mitigation, and building a partnership with a factory capable of bringing your vision to life.
A well-executed sample from JINGYING is more than just a piece of jewelry; it is a prototype of a successful business relationship and the first tangible step towards building a beautiful and marketable collection.