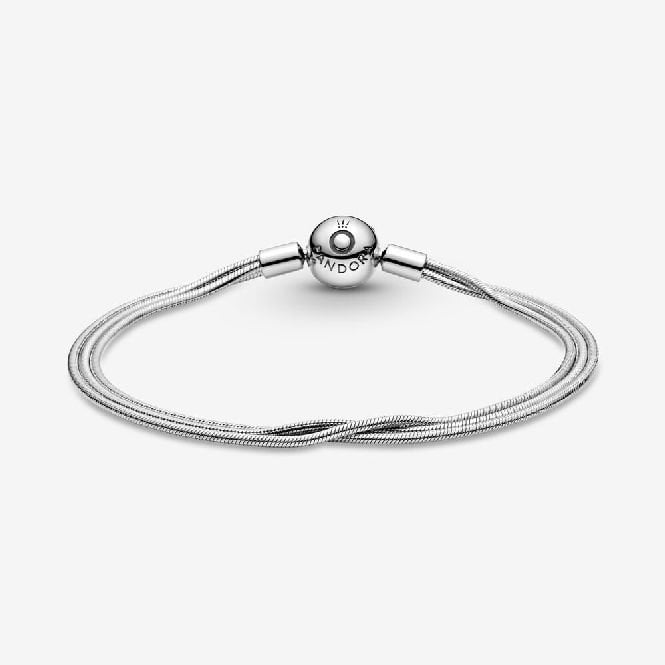
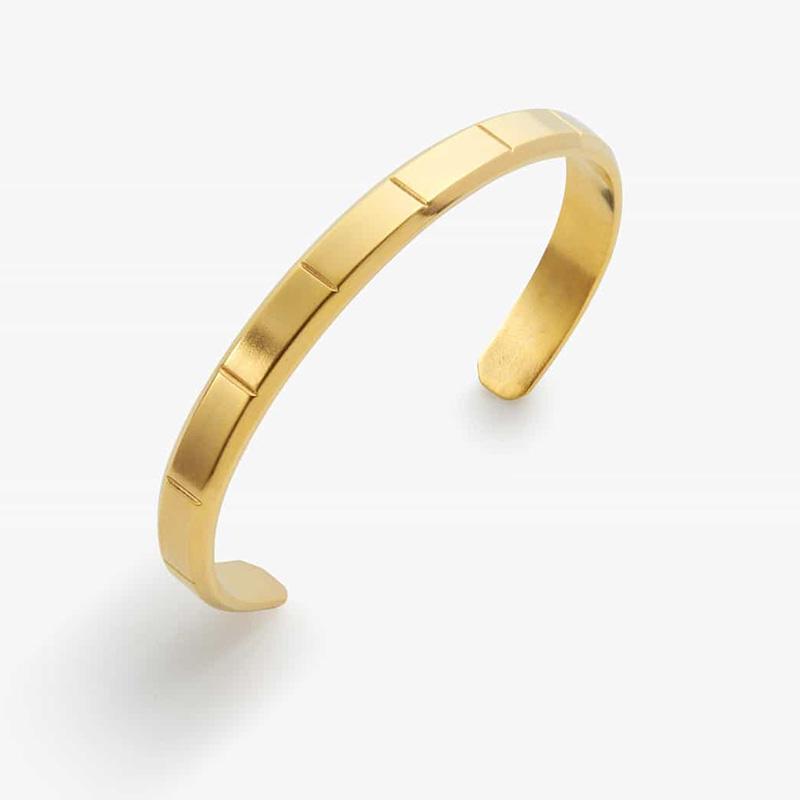
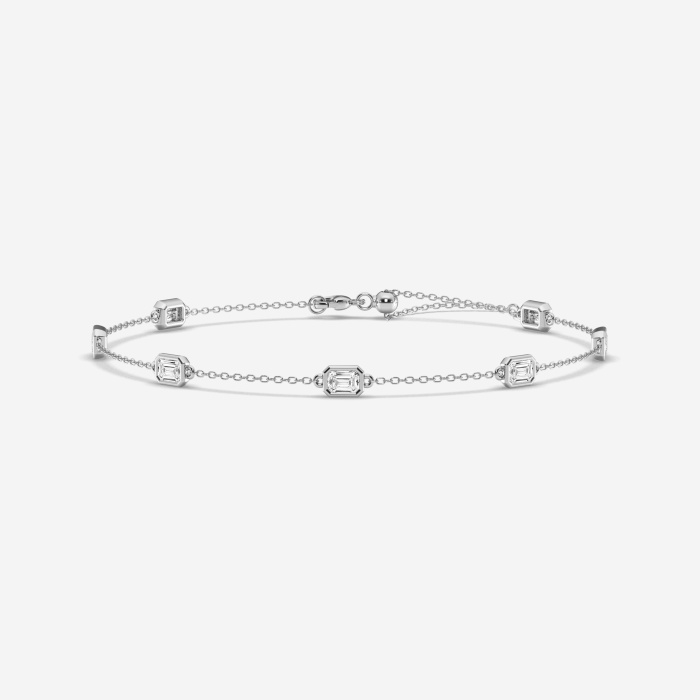
Custom and Manufacture Margo Mirror Chain Sterling silver Bracelet/Anklet at JINGYING


Custom and Manufacture Margo Mirror Chain Sterling silver Bracelet/Anklet at JINGYING
LET’S GET STARTED : mo@kingjy.com
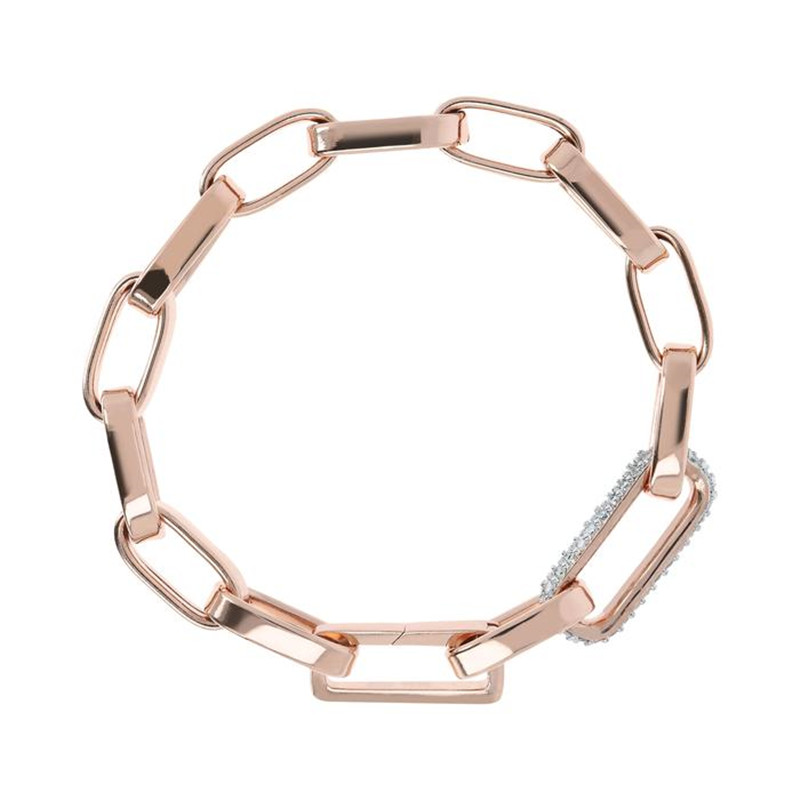
How to Manufacture Margo Mirror Chain Bracelet/Anklet – Silver
Introduction
The Margo Mirror Chain bracelet and anklet represent a pinnacle of minimalist luxury in contemporary jewelry design. Characterized by its highly reflective, flat, geometric links that catch light from every angle, the “Mirror Chain” (often referred to as “foil chain” or “diamond-cut cable chain” in the industry) requires precision engineering and meticulous hand-finishing. Unlike standard rounded cable chains, the Margo chain features facets that act as tiny mirrors.
Manufacturing this piece in silver—specifically .925 sterling silver—demands an understanding of metallurgy, mechanical stamping, assembly, and high-polish electroplating or traditional burnishing.
This guide will walk through the industrial and artisanal manufacturing process, from raw silver grain to the final polished, wearable accessory.
Part 1: Materials & Tooling Preparation
1.1 Material Selection
- Metal: 92.5% pure silver, 7.5% copper alloy (Sterling Silver). The copper adds hardness, ensuring the “mirror” facets hold their edge.
- Wire Gauge: 18-gauge (1.0mm diameter) round wire for the links.
- Clasp: A silver lobster clasp or a magnetic box clasp with a figure-eight connector.
- Extender Chain: 1 inch of fine cable chain (1.5mm) for adjustable sizing.
1.2 Required Tooling (Industrial Scale)
- Automatic Link Winding Machine: To create uniform coils.
- Diamond Cutter / Faceting Lathe: A CNC-controlled rotating grinder with diamond-tipped bits.
- Tumbler: Rotary or vibratory with mixed stainless steel shot.
- Magnetic Pin Finisher: For surface smoothing.
- Ultrasonic Cleaner: Degreasing.
- Electroplating Tank (Rhodium or Anti-Tarnish): Optional for bright white finish.
- Hand Tools: Flat nose pliers, chain nose pliers, flush cutters, soldering torch (jeweler’s grade), third hand tool.
Part 2: Step-by-Step Manufacturing Process
Step 1: Fabrication of the Base Wire
Before the chain exists, the metal must be prepared.
- Melting: Place scrap .925 silver and virgin silver grain in a graphite crucible. Heat to 1,763°F (961°C).
- Pouring: Pour the molten silver into a steel ingot mold to create a long, rectangular bar.
- Rolling: Pass the bar through a rolling mill repeatedly, reducing thickness until a round wire of exactly 1.0mm diameter is achieved.
- Annealing: Heat the wire to red heat (approx. 1,100°F) and quench in pickling solution (citric acid) to soften it for winding.
Step 2: Coiling and Link Creation (The Donut)
Unlike oval or round chains, the Margo starts as a round coil.
- Winding: The 1.0mm wire is fed into an automatic winder around a 2.5mm mandrel. This creates a tight spring-like coil.
- Sawing: The coil is held in a jig. A jeweler’s saw with a 6/0 blade cuts through the entire coil simultaneously, producing hundreds of individual jump rings (links). Critical note: For mirror chains, the cut must be perpendicular (square) to ensure the flat facet aligns later.
Step 3: Flattening (The “Pre-Mirror” Stage)
Round links cannot reflect light. They must be compressed.
- Roller Flattening: The jump rings are tumbled to remove burrs, then fed through a rotary flatting mill. This mill crushes the round wire into a flat rectangle with rounded corners. Target thickness: 0.4mm.
- Result: The links now resemble tiny flat ovals. They are soft and malleable.
Step 4: Diamond Cutting (The “Mirror” Facet)
This is the proprietary step that creates the Margo’s signature sparkle.
- Interlocking: The flattened links are loosely assembled into a “pre-chain” strand.
- CNC Faceting: The chain is pulled through a diamond-cutting lathe. A spinning wheel coated with industrial diamond dust strikes the surface of each link at a 45-degree angle.
- The Cut: The cutter removes a microscopic layer of silver, creating 3 to 5 distinct flat facets (top, bottom, and angled sides) on each link.
- Top Facet: Wide, flat, mirror-like.
- Bottom Facet: Slightly convex to sit against the skin.
- Result: Each link now has a bright, polished surface from the cut, but the edges are sharp.
Step 5: Assembly (Weaving the Margo Pattern)
The Margo Mirror Chain uses a modified Cable Chain weave, but because the links are flat, orientation matters.
- Standard Weave: Open a link using two sets of pliers (twisting sideways, not pulling apart). Thread it through the previous two links. Close it flush.
- Orientation Control: Unlike round cable chain, a mirror chain requires all facets to face the same direction (the “face up” side).
- Tool: A magnetic orienting conveyor belt aligns all links facet-up.
- Manual check: A jeweler visually inspects every 10th link.
- Soldering (Optional but Recommended for Durability): For a premium Margo anklet (subject to stress), each closed link is micro-soldered at the seam using a laser welder or torch with hard silver solder paste.
- Why? Unsoldered mirror chains twist and lose facet alignment. Soldering locks the geometry.
Step 6: The “Ballotini” Finish (Industrial Mirror Polish)
After assembly, the chain looks dull and scratched. We must restore the mirror finish.
- Magnetic Polishing: Submerge the chain in a water-based lubricant with 10,000 tiny magnetic pins. A rotating magnetic field makes the pins vibrate and scrub every crevice, removing oxide firescale from soldering. (Duration: 45 minutes).
- Tumbling with Steel Shot: Transfer the chain to a rotary tumbler.
- Media: High-carbon stainless steel shot (mixed shapes: balls for recesses, triangles for flat surfaces).
- Compound: Soap-based burnishing compound.
- Time: 8-12 hours. This work-hardens the silver while cold-welding a mirror shine.
- Inspection: Remove and blow dry. The silver should have a grey, slightly matte mirror finish. For consumer “white mirror,” proceed to Step 7.
Step 7: Rhodium Electroplating (The “White Mirror” Effect)
Raw polished silver oxidizes (turns black) within weeks. To create a permanent mirror that resists tarnish, we plate it with rhodium—a platinum-group metal.
- Ultrasonic Degreasing: Run the chain in a heated (60°C) ultrasonic bath with alkaline detergent for 10 minutes. Rinse with distilled water.
- Acid Activation: Dip in a 10% sulfuric acid solution for 30 seconds to strip any last oxide layer.
- Electroplating Tank:
- Anode: Platinum-plated titanium mesh.
- Cathode: The silver chain (suspended on a conductive wire).
- Solution: Rhodium sulfate (2g per liter).
- Voltage: 3.5 volts DC.
- Time: 3 minutes. This deposits a 0.5-micron layer of rhodium.
- Result: The chain emerges blindingly white, mirror-reflective, and scratch-resistant.
Step 8: Clasp Fabrication & Attachment
A mirror chain requires a secure, matching clasp.
- Lobster Clasp: Cast via lost-wax casting or stamped from sheet silver.
- Polishing: The clasp is tumbled separately to avoid tangling.
- Jump Ring Attachment: Open a 4mm reinforced jump ring (18-gauge, soldered). Attach one end to the clasp.
- Connecting to Chain: Thread the jump ring through the last link of the Margo chain. Close and solder flush.
- Extender: Attach a 1-inch piece of fine round cable chain to the opposite end for adjustable fit (especially for anklets).
Part 3: Quality Control & Grading
Before packaging, each bracelet/anklet passes a 12-point inspection.
| Test | Method | Rejection Criteria |
|---|---|---|
| Link Integrity | Tension pull (10 lbs for bracelet, 15 lbs for anklet) | Separation of solder joints |
| Facet Alignment | Visual under 10x loupe | Twisted links (facet not facing up) |
| Mirror Reflectivity | Laser reflectometer (<5% haze) | Dull spots, scratches, or pitting |
| Rhodium Thickness | X-ray fluorescence (XRF) gun | <0.4 microns |
| Clasp Action | 100-cycle open/close test | Failure to snap or loosen |
| Edge Sharpness | Glide test on nylon stocking | Snagging or cutting thread |
Tolerance Standards:
- Length tolerance: ± 0.5mm per 100mm (e.g., a 7″ bracelet must be 6.95″ to 7.05″).
- Link thickness: ± 0.02mm.
- Clasp spring force: > 300 grams.
Part 4: Finishing & Packaging
4.1 Anti-Tarnish Treatment
- Dip the finished chain in a benzotriazole (BTA) solution. This molecular layer prevents sulfur in the air from blackening the silver.
- Dry with warm air (never heat above 120°F, which degrades rhodium).
4.2 Final Assembly
- Bracelet (Margo standard): 7.5 inches (19cm) including clasp.
- Anklet (Margo standard): 9.5 inches (24cm) + 1-inch extender.
- Weight: Approximately 8-12 grams for bracelet; 14-18 grams for anklet.
4.3 Presentation
- Jewelry bag: Anti-tarnish flannel.
- Box: Rigid black paper box with a white foam insert cut to the shape of the chain (to prevent tangling).
- Documentation: Silver care card + authenticity certificate.
Part 5: Troubleshooting Common Defects
Even with automation, issues arise. Here is the manufacturing log for fixing them.
Defect 1: “Dull Facets” (Loss of mirror)
- Cause: Rhodium bath contamination or low current.
- Fix: Filter the plating solution. Increase voltage to 3.8V. Re-plate after stripping in reverse electrolysis.
Defect 2: “Link Twisting” (Chain rolls on wrist)
- Cause: Improper weaving orientation or unsoldered links rotating.
- Fix: Disassemble 3 links before the twist. Re-weave with a jig that holds the facet upward. Laser weld every link.
Defect 3: “Black Spots under Rhodium”
- Cause: Residual polishing compound in the link intersections.
- Fix: Triple ultrasonic cycles (hot water, then cold, then isopropyl alcohol). Use a compressed air gun at 90 PSI to blow out crevices.
Defect 4: “Brittle Links” (Snapping under light stress)
- Cause: Over-work hardening during rolling or over-annealing.
- Fix: Test wire hardness with a Vickers tester. Target HV 120-140. If >160, re-anneal before cutting.
Part 6: Cost Breakdown & Time Analysis (Per 100 Units)
| Step | Labor (Minutes) | Material Cost (USD) | Tooling Cost |
|---|---|---|---|
| Wire fabrication | 30 | $15 (silver grain) | $0.50 |
| Coiling & cutting | 45 | $0.10 (saw blades) | $2.00 |
| Flattening | 20 | $0 (mechanical) | $0.50 |
| Diamond cutting | 60 | $5 (diamond wheel wear) | $10.00 |
| Assembly & soldering | 180 (skilled labor) | $2 (solder) | $1.00 |
| Polishing (tumbling) | 720 (machine time) | $3 (compound) | $3.00 |
| Rhodium plating | 30 | $12 (rhodium solution) | $4.00 |
| Clasp attachment | 60 | $8 (clasps) | $0.50 |
| Total per unit | ~18 minutes | ~$47.00 | ~$21.50 |
*Note: Rhodium is expensive (approx. $300/gram), but deposits extremely thin.*
Conclusion
Manufacturing a Margo Mirror Chain bracelet or anklet in silver is a hybrid process of brute force mechanics and delicate chemistry. The journey from a molten ingot to a gleaming, rhodium-plated accessory involves eight distinct metallurgical transformations.
For the industrial manufacturer, the keys to success are:
- Diamond-cutting precision (creating the facets).
- Solder-orientation discipline (preventing twist).
- Rhodium bath management (achieving the white mirror).
For the artisan jeweler replicating this at home, substitute the CNC cutter with a hand-held graver and a steel burnisher—though production time will rise from 18 minutes to approximately 6 hours per piece.
The final product—a Margo Mirror Chain—should not just be a accessory; it should be a wearable piece of optical engineering, reflecting the world around it without distortion. When you see your face in a customer’s bracelet, you will know the process succeeded.